Returned from the Dead: Fender Pro Reverb 1979-80 Repair & Restoration
A CBS-era Pro Reverb that went from one failed preamp tube to a completely dead amp—brought back with a full recap, a genuinely adjustable bias, and two fully reversible tonal mods.
This one had a strange path to the bench. What started as an ordinary failed preamp tube turned into a dead amplifier after the previous owner, troubleshooting blind, went after the power tubes instead—breaking a pin in the process and cracking the resistor mounted at that socket. The amp arrived otherwise virgin: no technician had ever been inside this chassis before. This is the full bench log, intake through final bias.
Intake: What Showed Up on the Bench
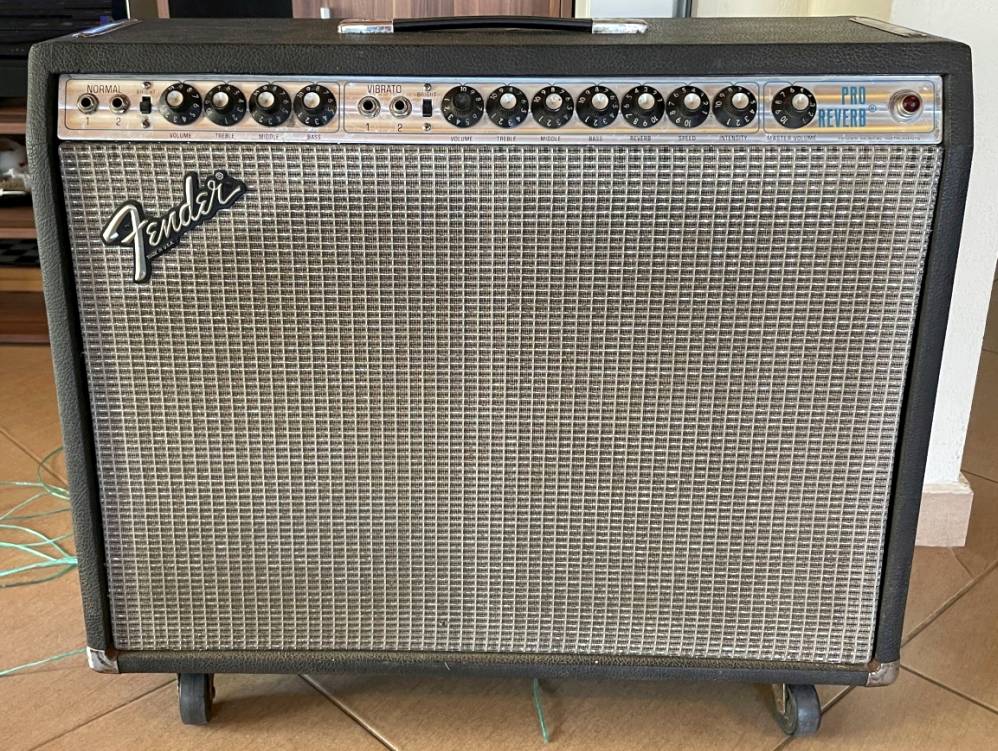
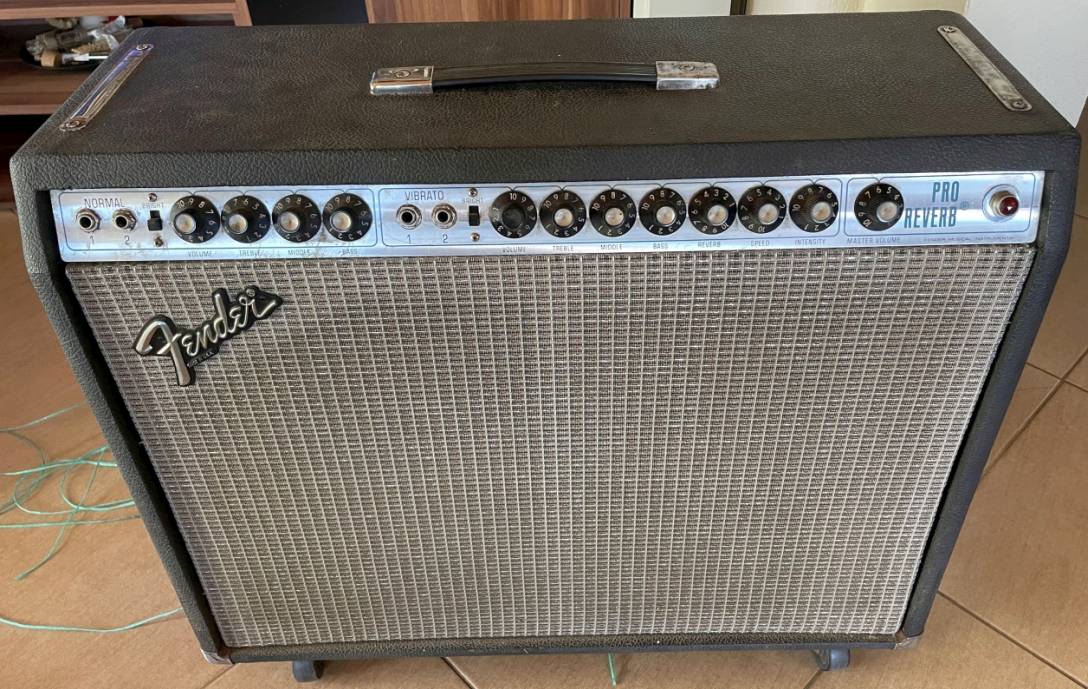
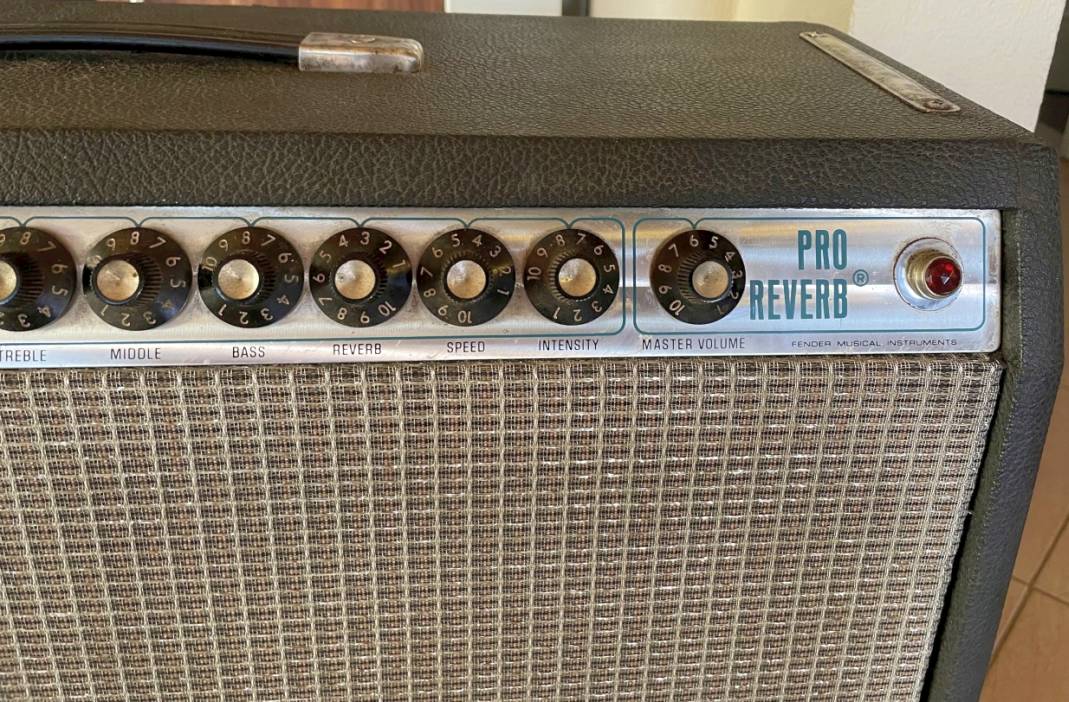
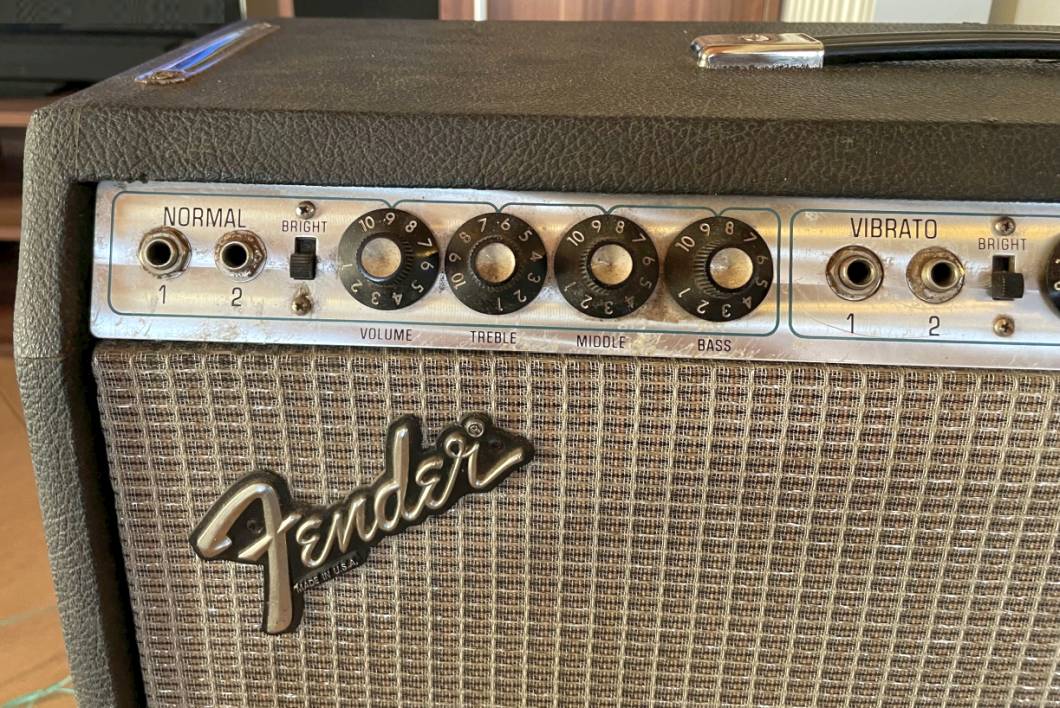
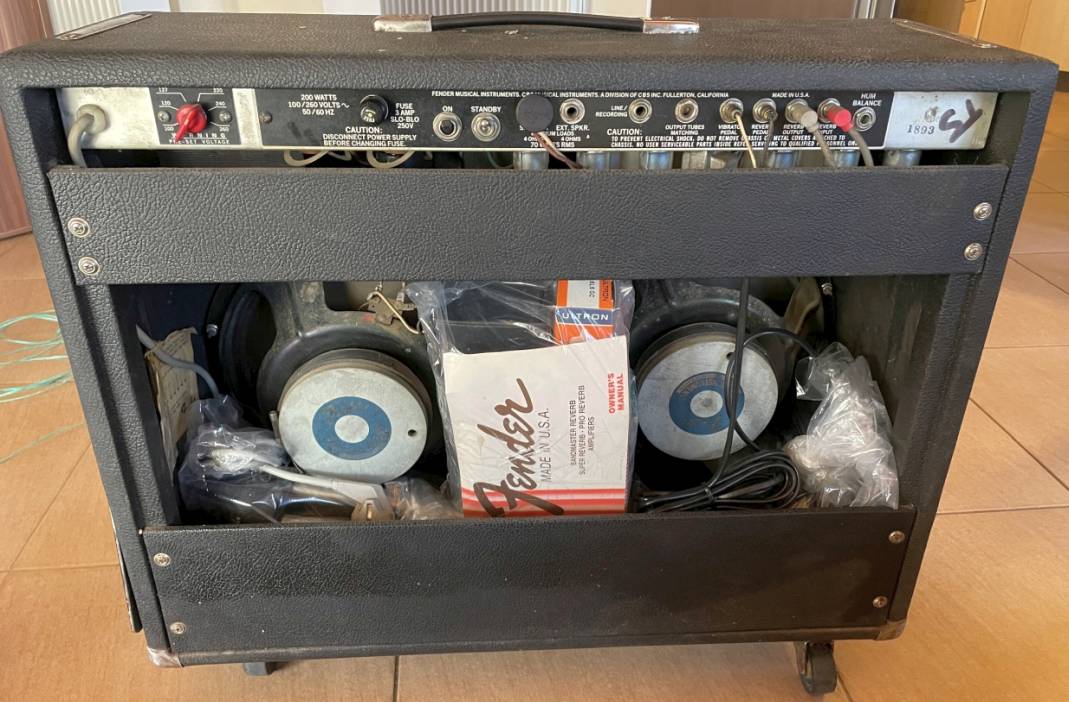
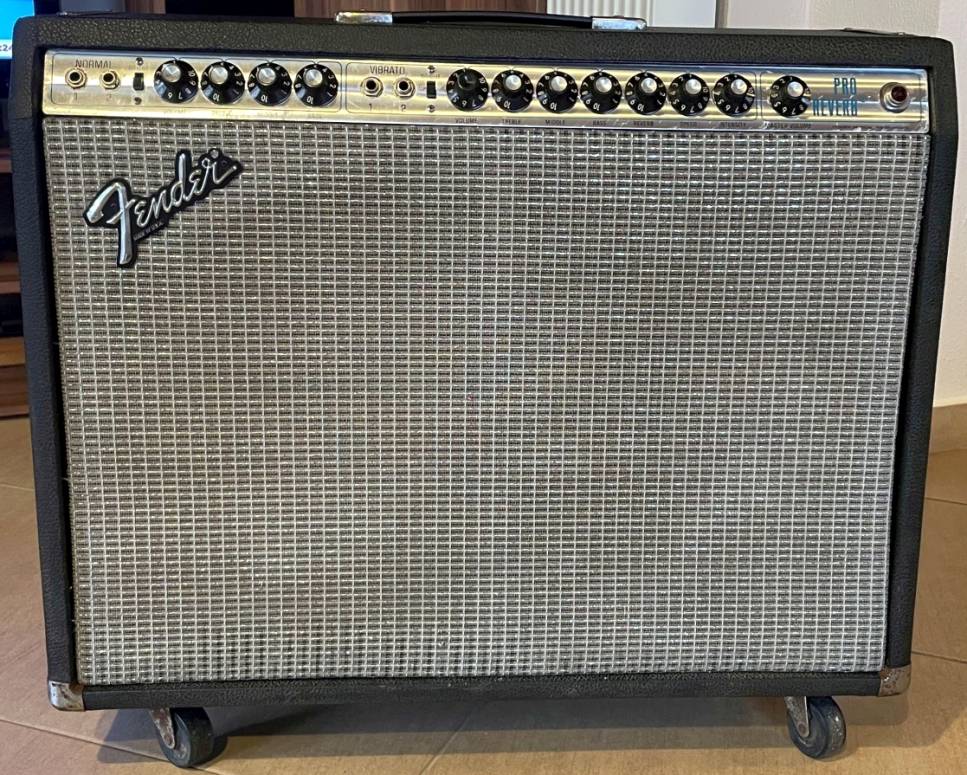
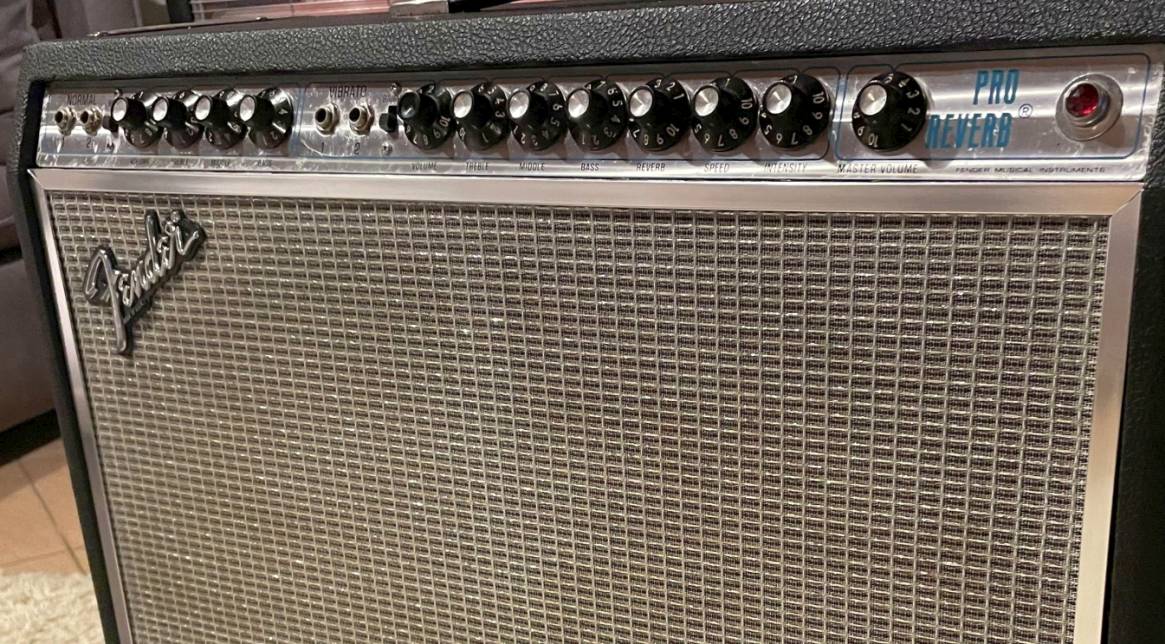
First impressions were good: a cosmetically solid, complete CBS-era Pro Reverb, dual-12″ open-back cabinet, original speakers still in place, and the factory owner’s manual still tucked inside the back of the cabinet. Nothing about the outside gave away the problem. The amp was simply dead—no hum, no hiss, nothing.
The Diagnosis: One Bad Solder Joint, Then a Bad Guess
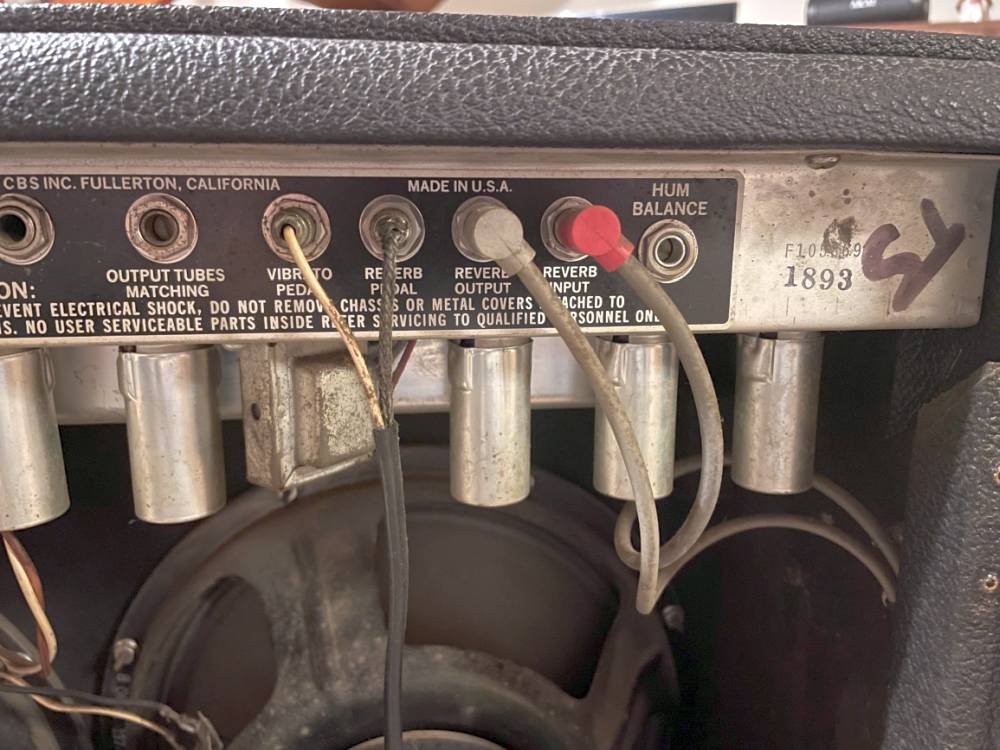
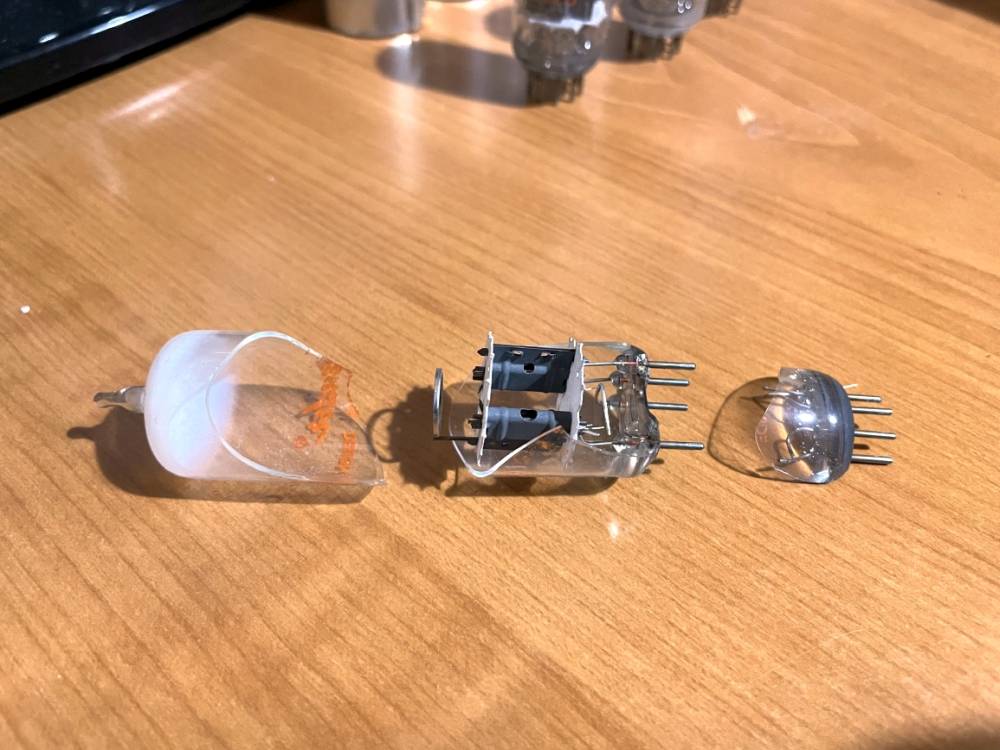
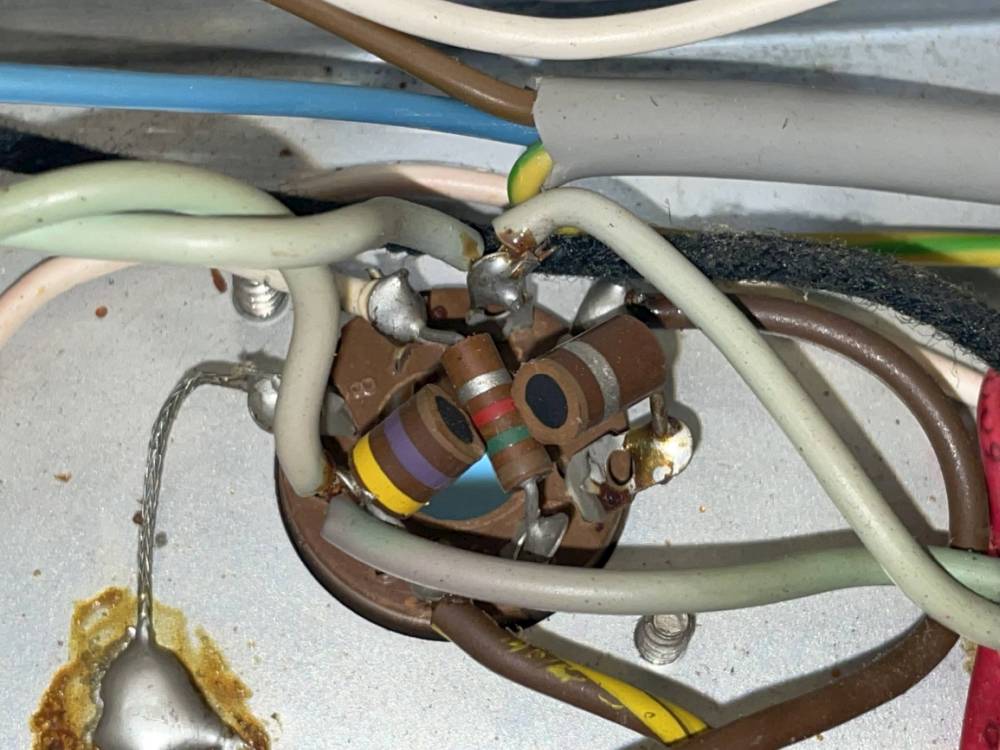
Pulling the chassis told the real story, and it’s a genuinely unusual one. One of the preamp tube sockets had a heater wire that was never soldered at the factory—decades sitting on a cold joint, until it finally arced enough to take the tube out. That’s not wear, not age, not a previous repair gone wrong. That’s a defect that shipped from the factory in 1979 or ’80 and sat there the entire life of the amp until it finally caught up with it.
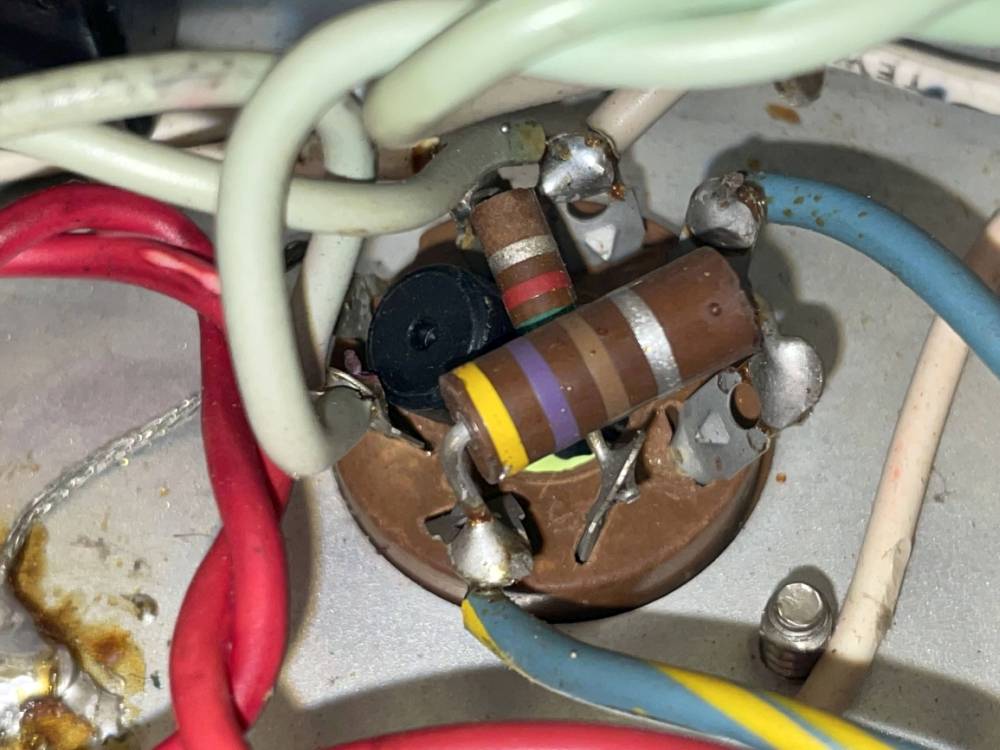
The previous owner, troubleshooting without really knowing what they were looking at, went after the power tubes instead of the preamp section—and broke a pin on one of them during the swap. That broken pin cracked the screen grid resistor mounted directly at the socket. What started as a single failed preamp tube ended up as a fully dead amplifier. And notably: this chassis had never been opened by a tech before. Every original wire, every original component, exactly as it left the factory—aside from that one owner’s own troubleshooting attempt.
Phase 1: Full Board Audit and Parts Order
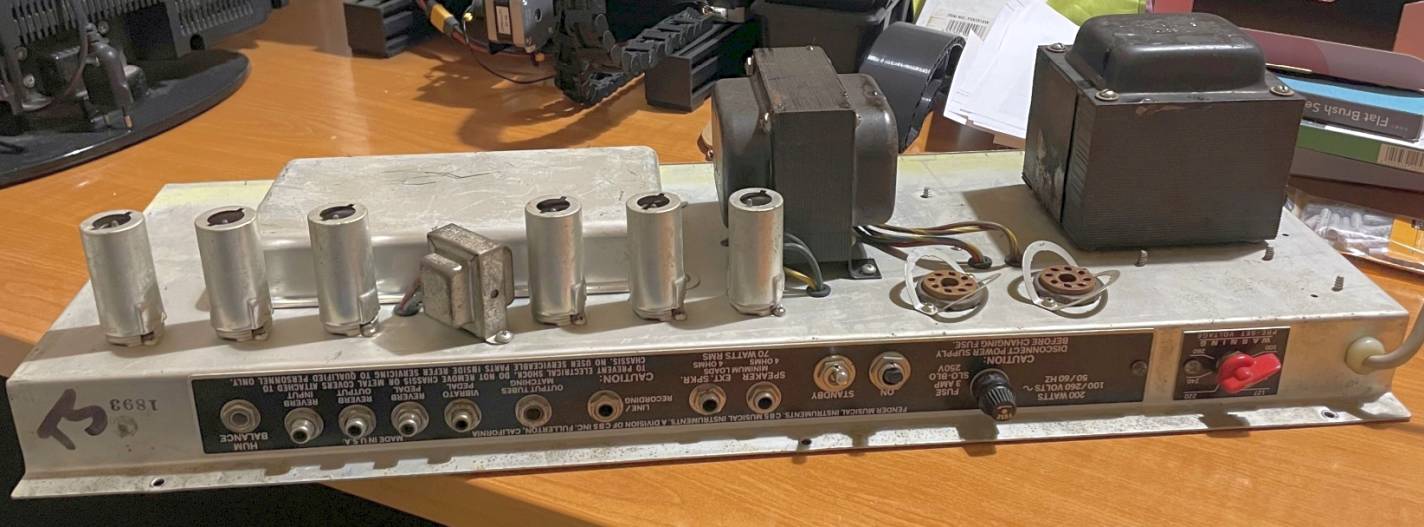
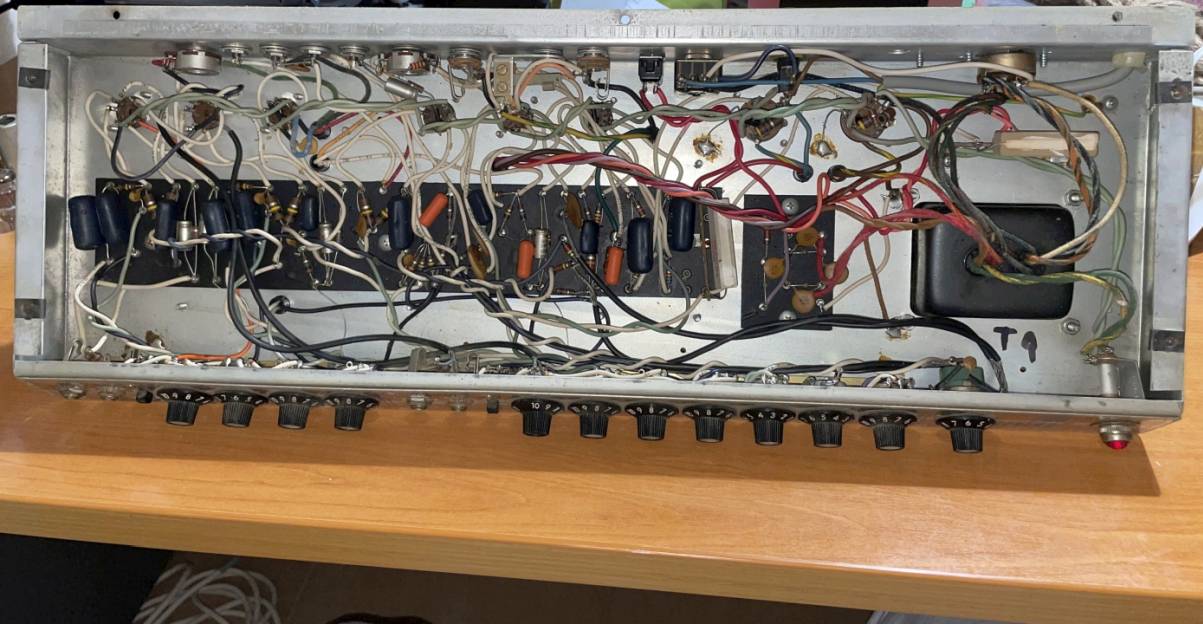
Before any repair work started, every resistor and capacitor on the eyelet board got checked against what it should read—not just the obviously broken screen grid resistor, but the whole board, one component at a time. With a real picture of what the amp actually needed, the parts order went in: everything the audit flagged, plus a full fresh set of tubes.
Phase 2: Rebuilding the Doghouse
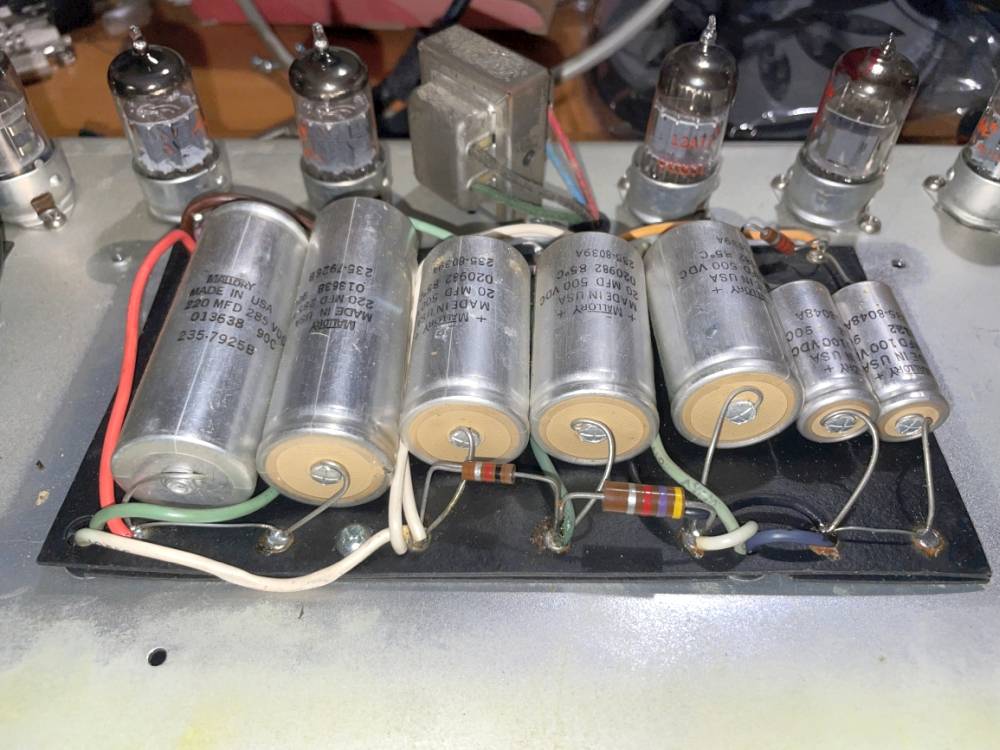
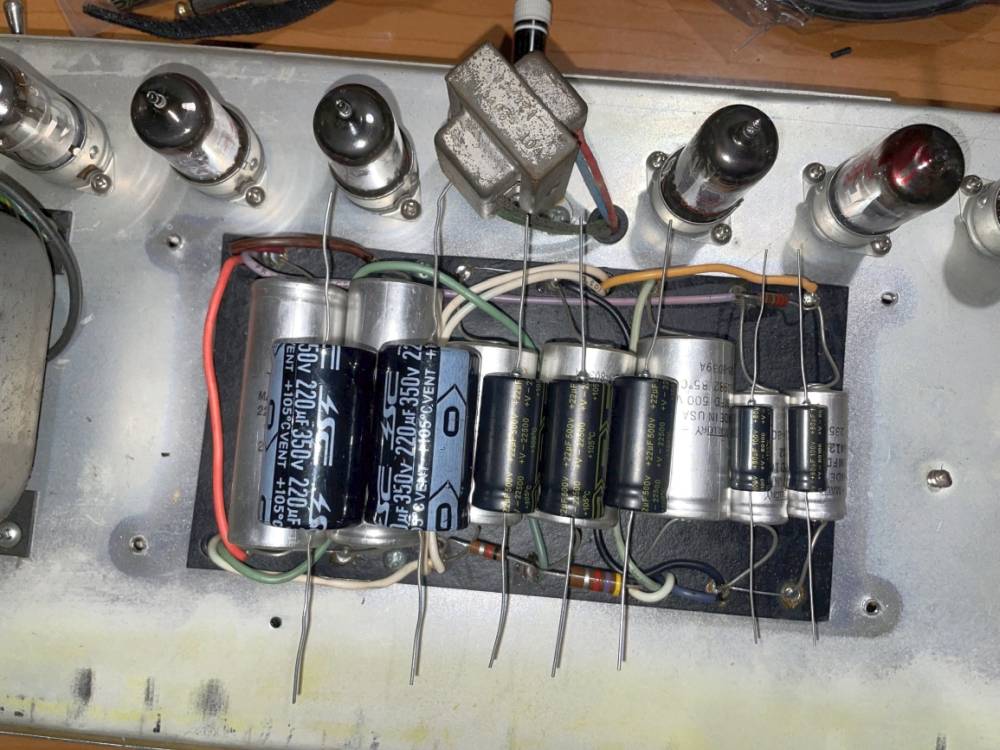
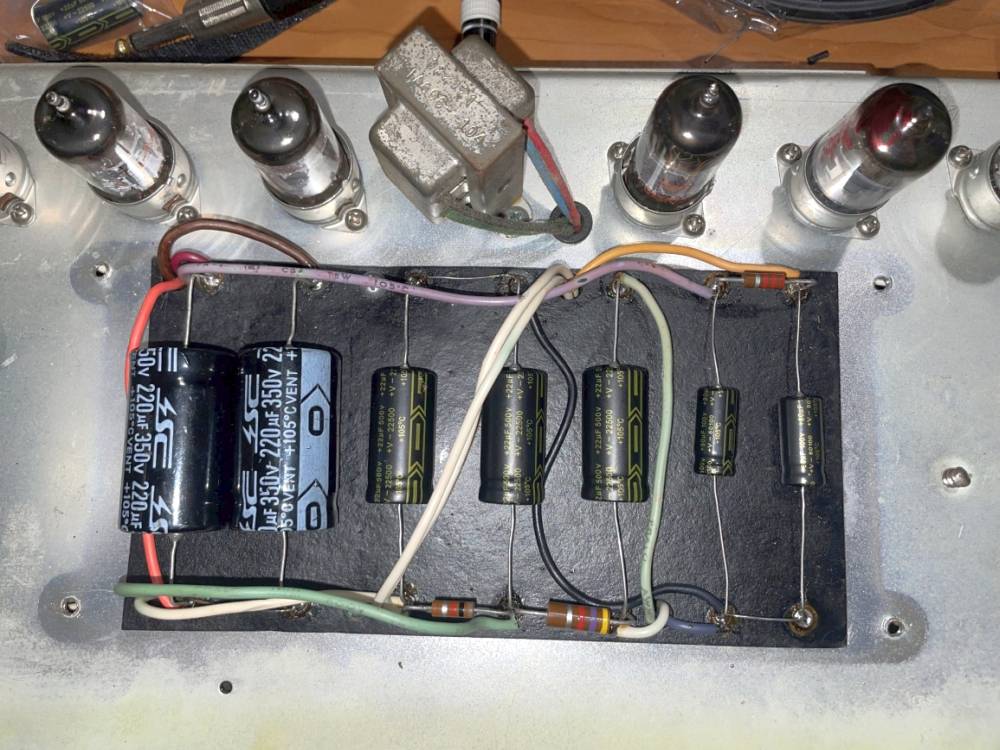
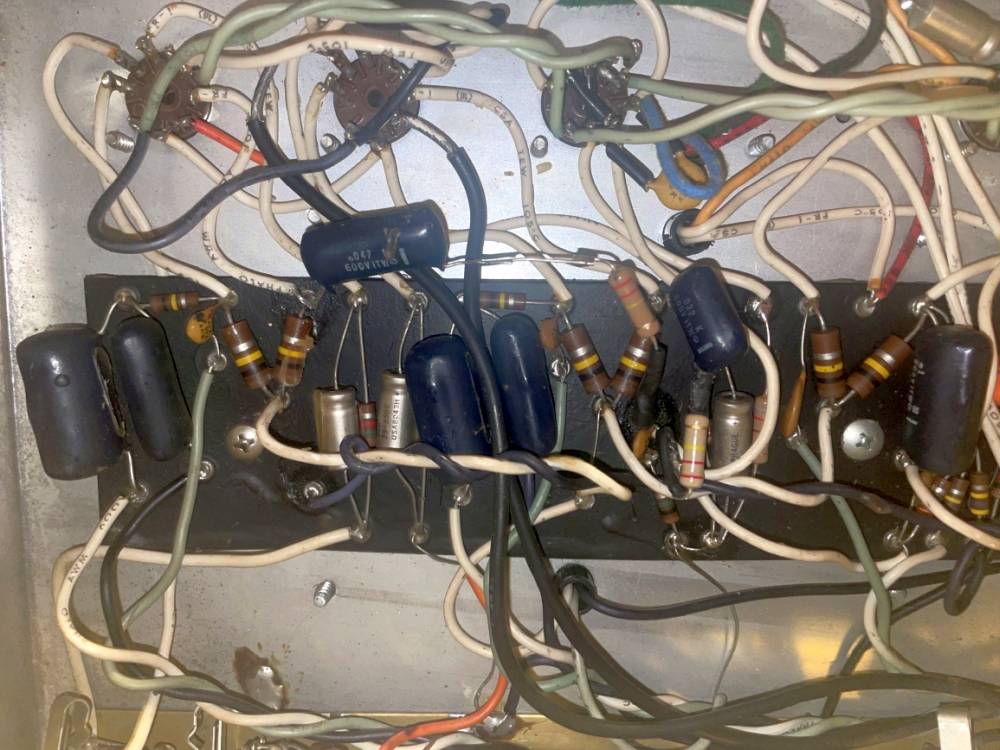
The original doghouse filter caps came out as a set and were replaced with fresh TAD 220µF/350V electrolytics, cleanly dressed and correctly wired back to spec.
Phase 3: Full Recap, and the Leaking Coupling Caps
The rest of the eyelet board got the same treatment—every electrolytic replaced with fresh TAD caps. Along the way, several coupling caps tested as leaking DC and were replaced with TAD orange drops rather than left in place; this wasn’t a blanket coupling-cap swap, just the ones that had actually failed. The broken, drifted, and out-of-spec resistors identified in the Phase 1 audit—including the one cracked by the broken tube pin—were replaced with correctly valued parts.
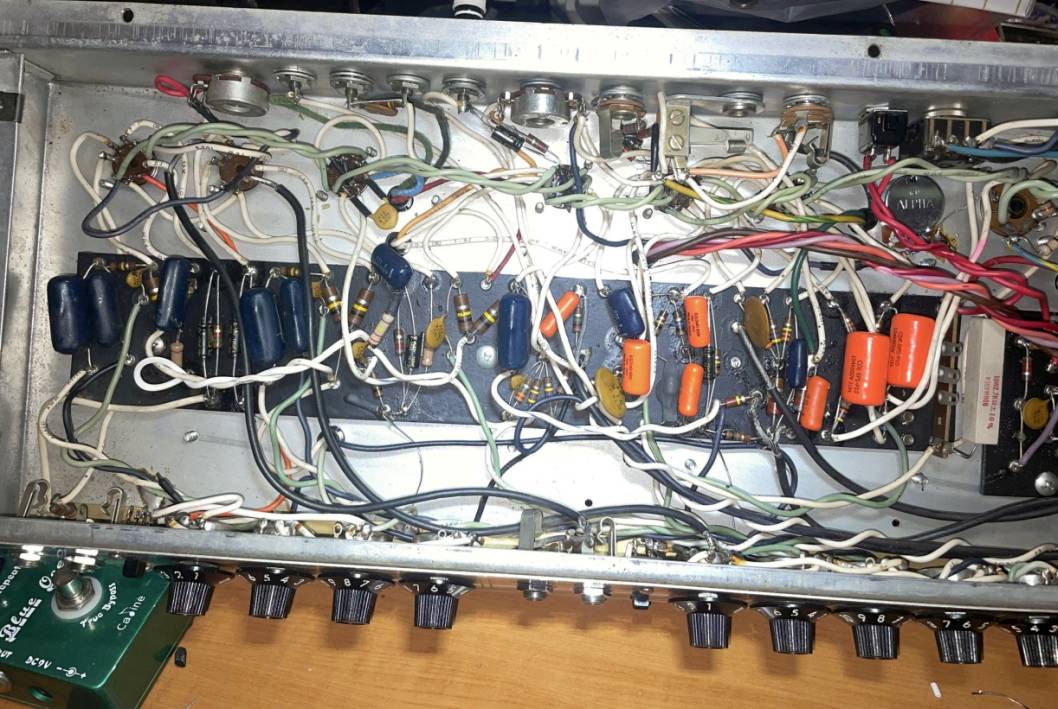
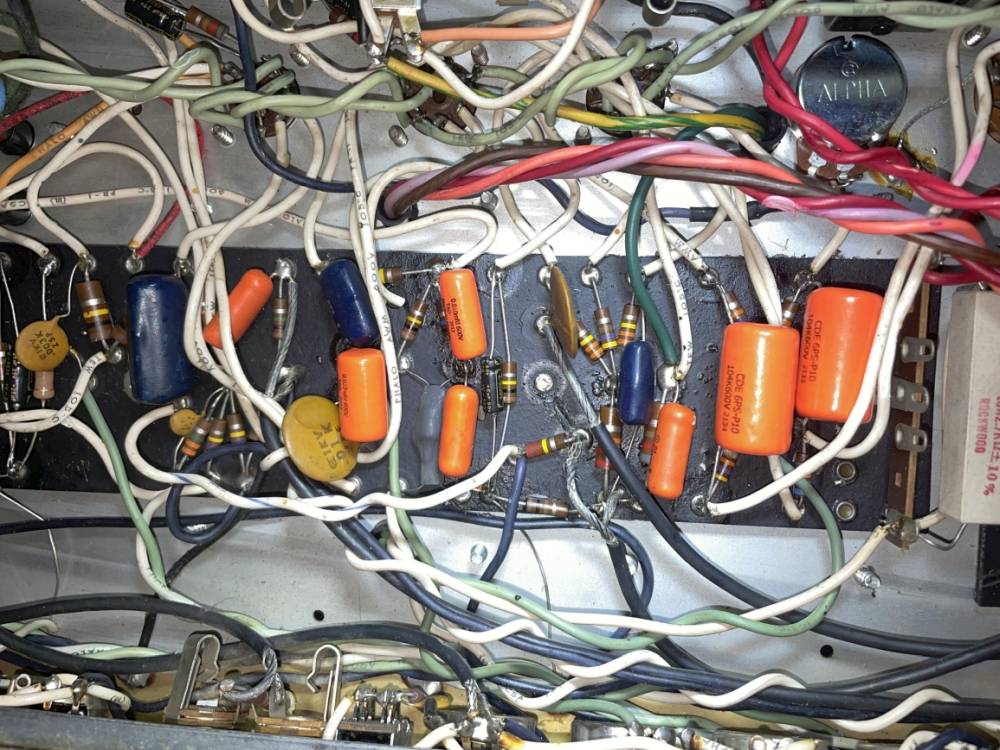
Phase 4: A Genuinely Adjustable Bias
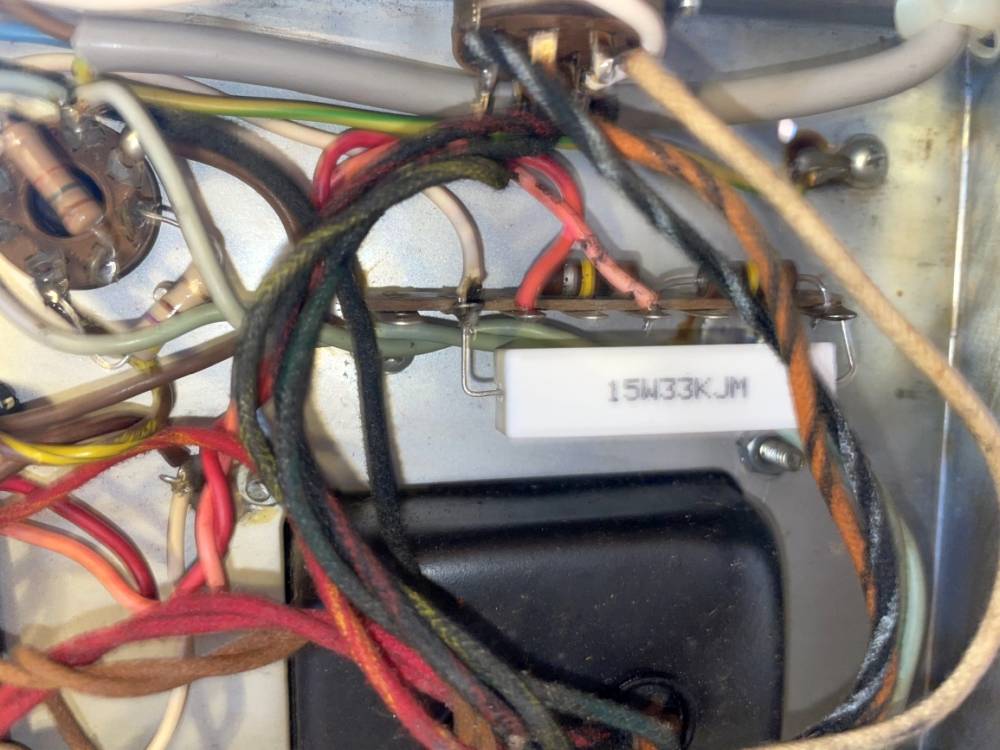
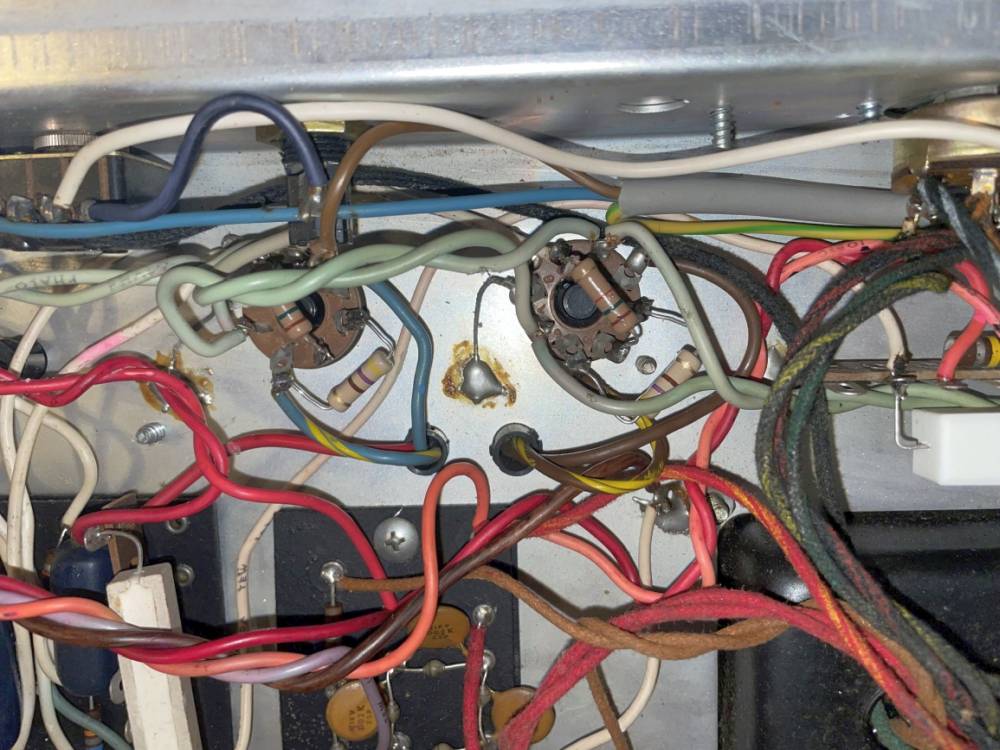
Like most CBS-era silverface amps of this vintage, the factory bias pot on this chassis only balances the two power tubes against each other—it doesn’t set the actual idle current for the pair, which was fixed at the factory by a resistor value. It’s a well-documented quirk of the era: plenty of these amps left the factory biased colder than they needed to be, with no way to warm them up short of swapping that resistor. The stock balance control was reworked into a genuine bias-level adjustment, so the pair’s actual idle current can be set and verified directly—with the balance function preserved for fine-matching the two tubes once the overall level is right.
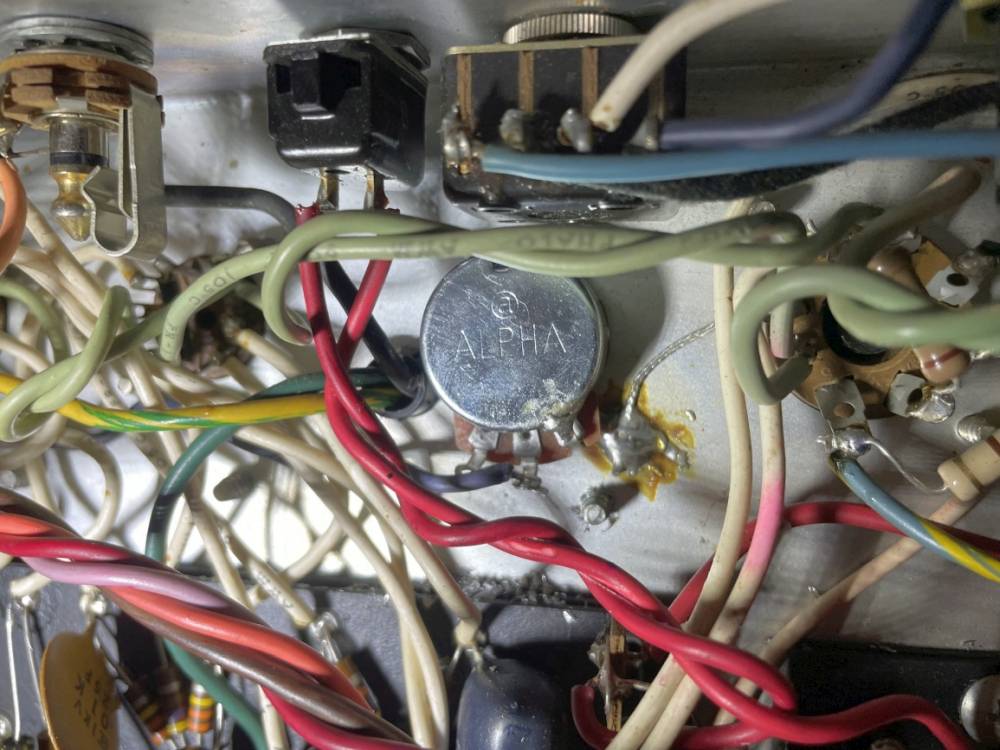
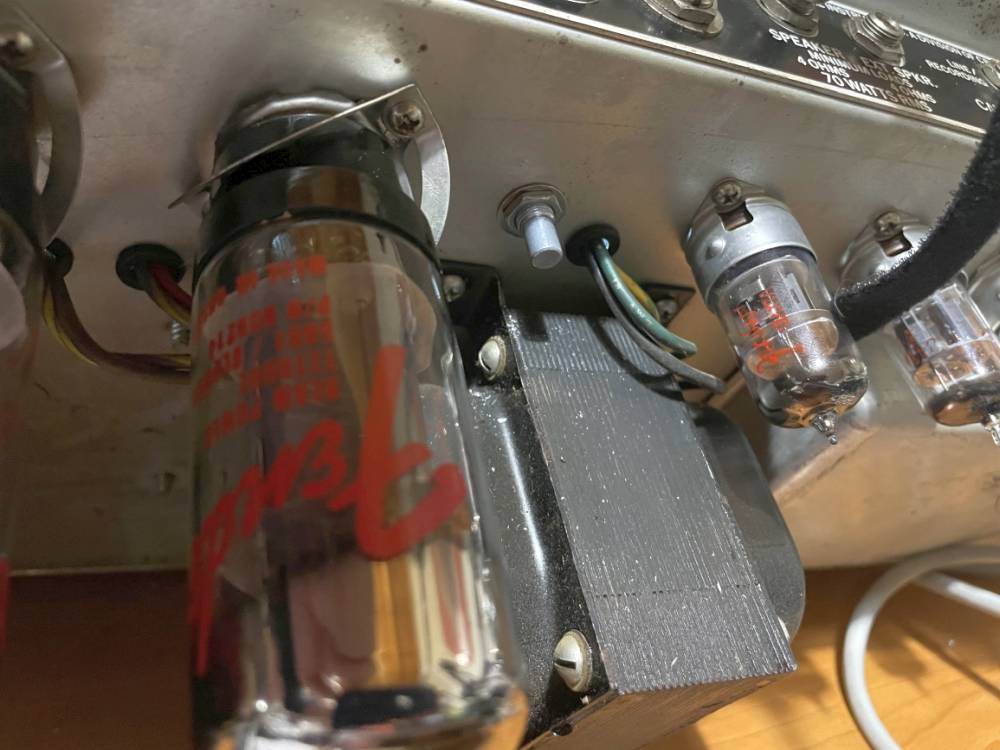
Phase 5: Two Reversible Mods for the Normal Channel
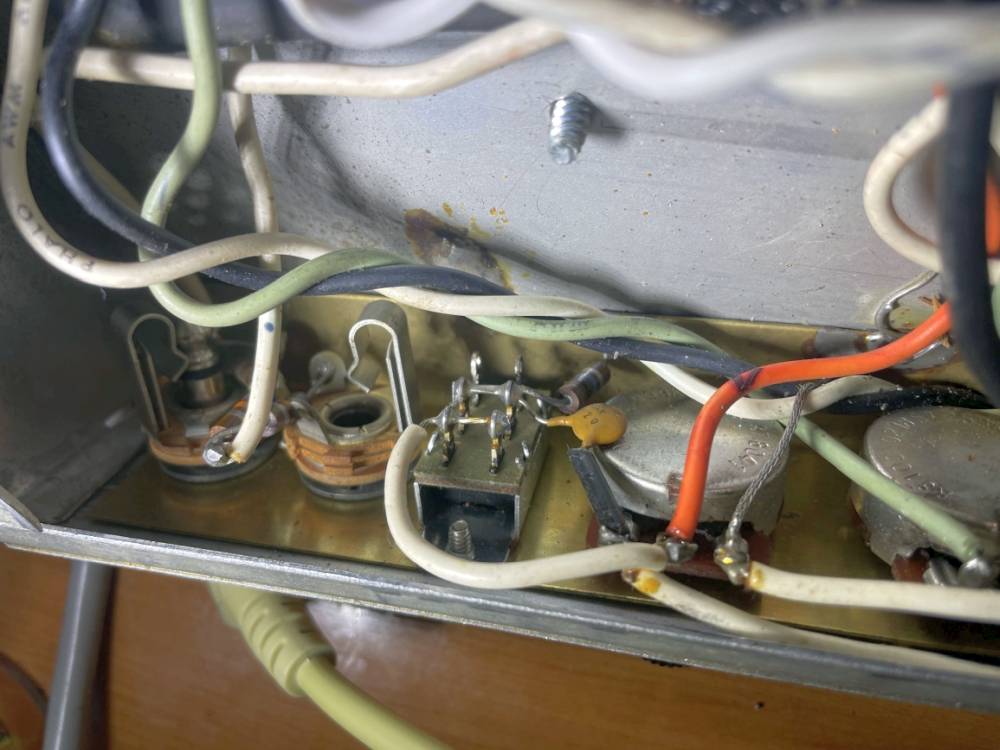
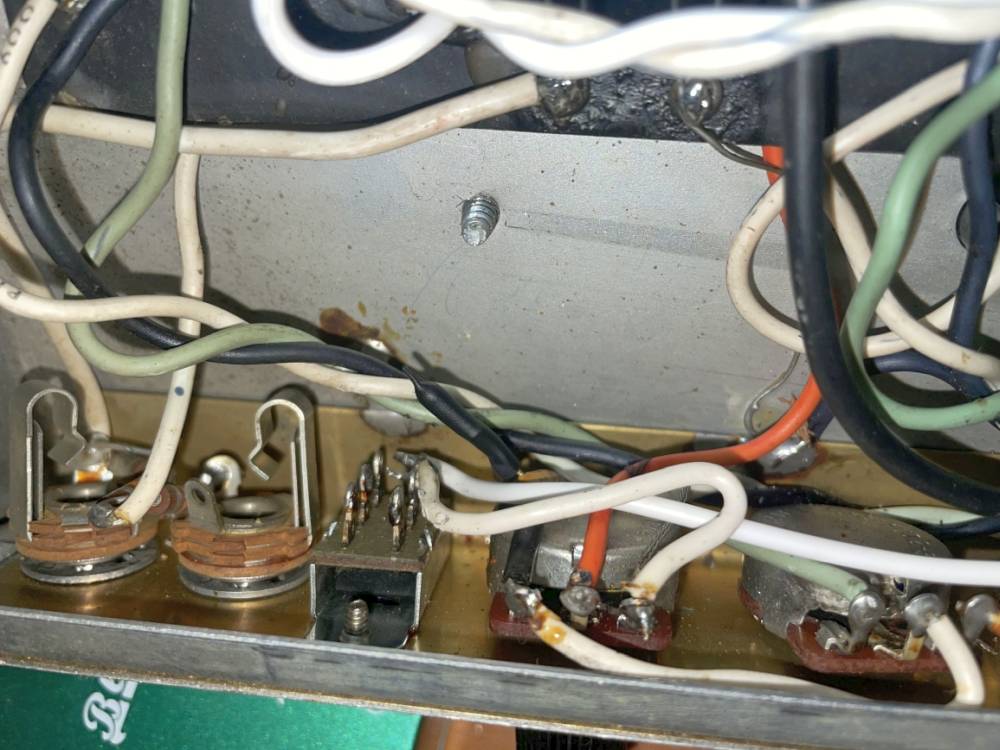
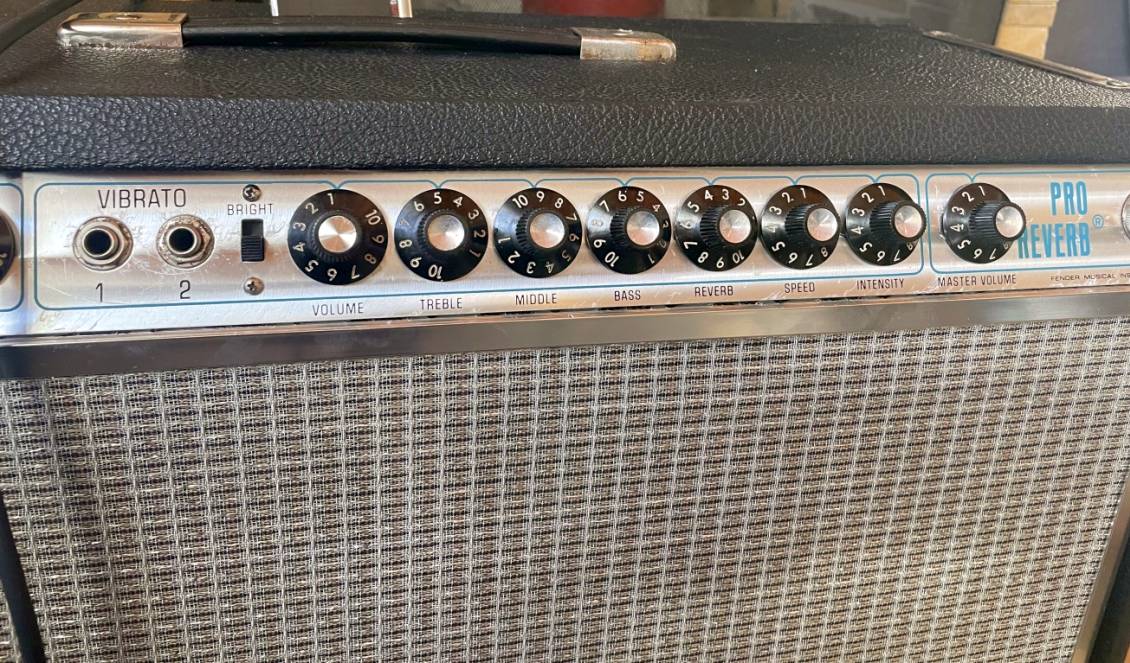
Stock, this amp’s Normal channel has no reverb or tremolo—both are wired to the Vibrato channel only, which is standard for this circuit. Two genuinely useful, fully reversible additions went in while the chassis was already open: the bright switch circuit on the Normal channel was removed and the tone stack made switchable, giving an on/off-engaged option voiced closer to a tweed-style circuit when disengaged; and reverb and tremolo were extended to the Normal channel, so both effects are no longer locked to a single channel.
Cabinet Refresh
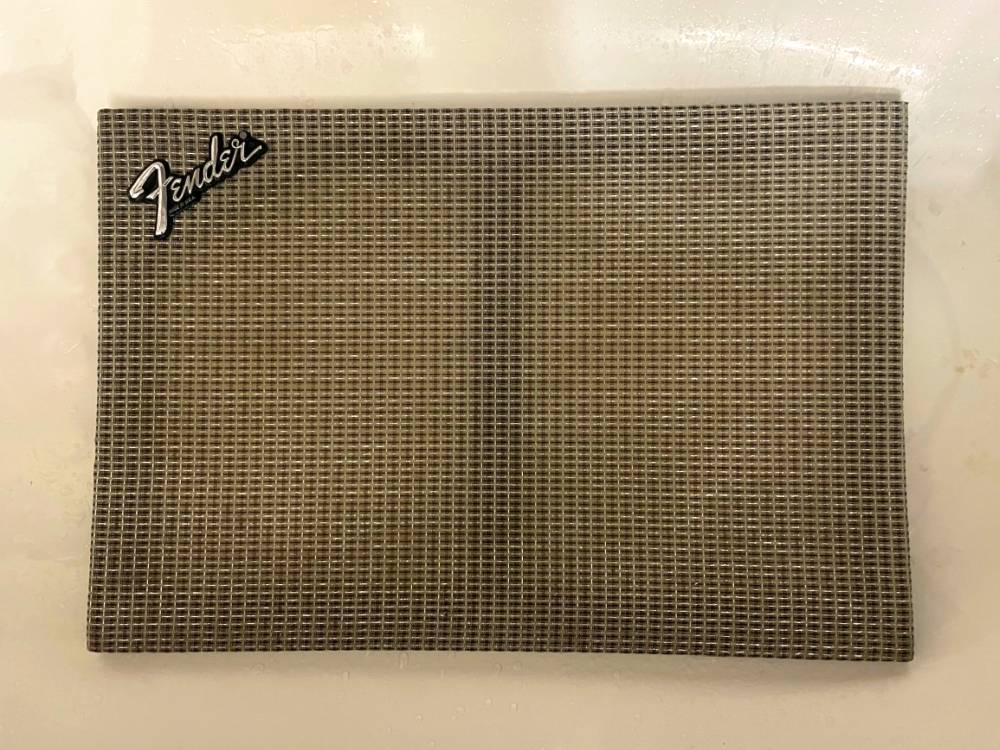
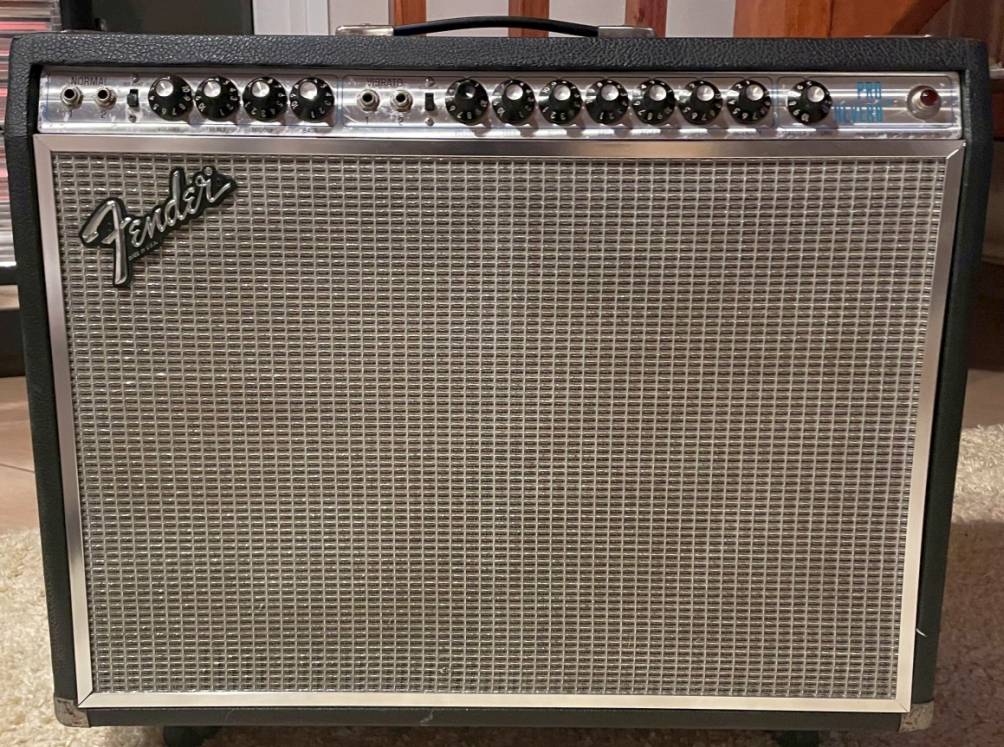
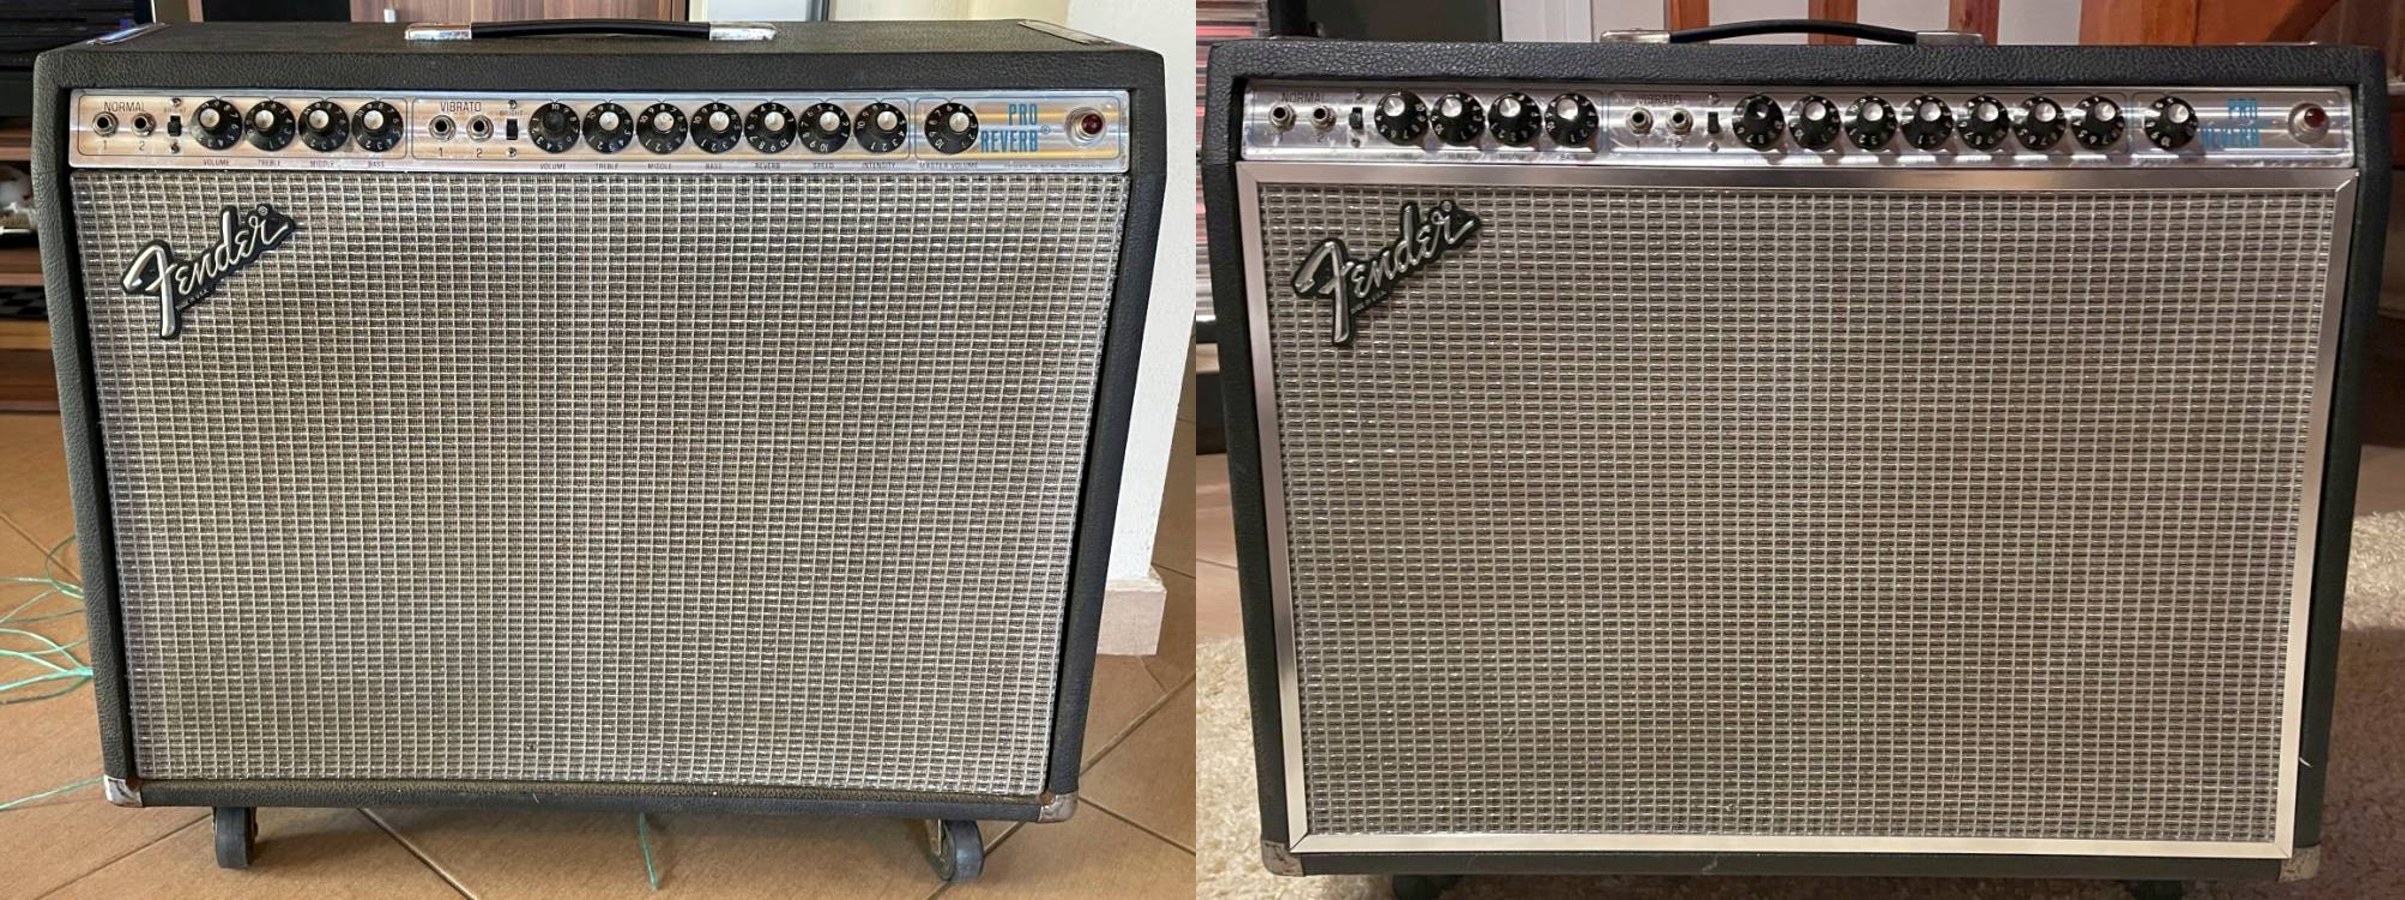
The original grille cloth was in good enough shape to keep—cleaned rather than replaced. The cabinet got a new custom drip edge, and all the corner protectors and chrome hardware were replaced with fresh parts.
Final Reassembly and Bias
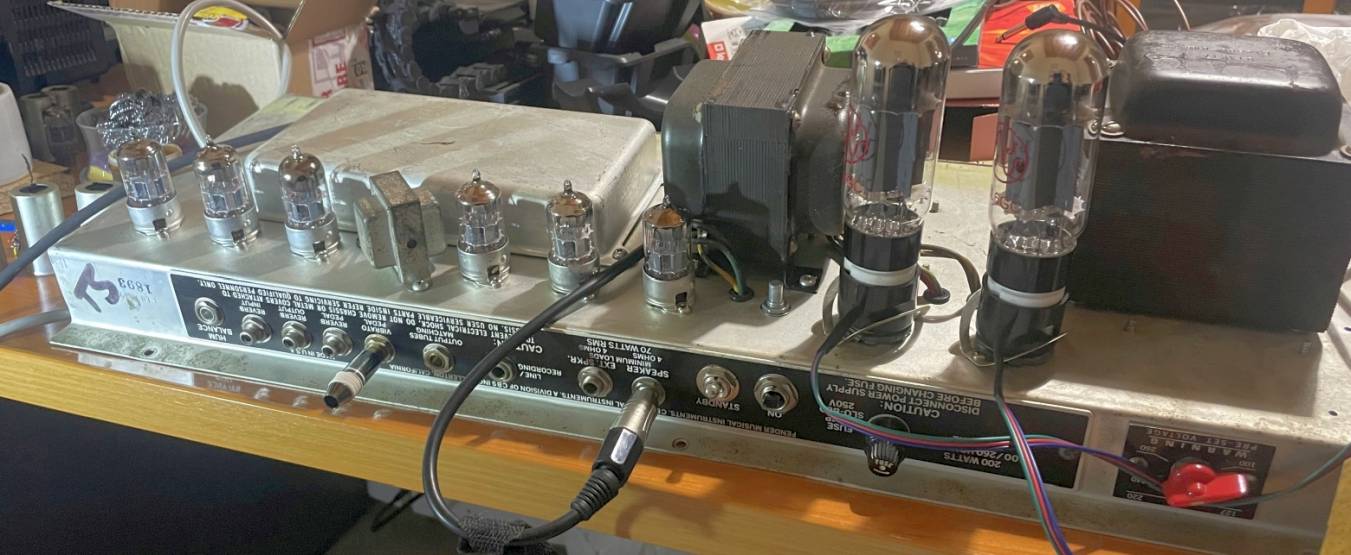
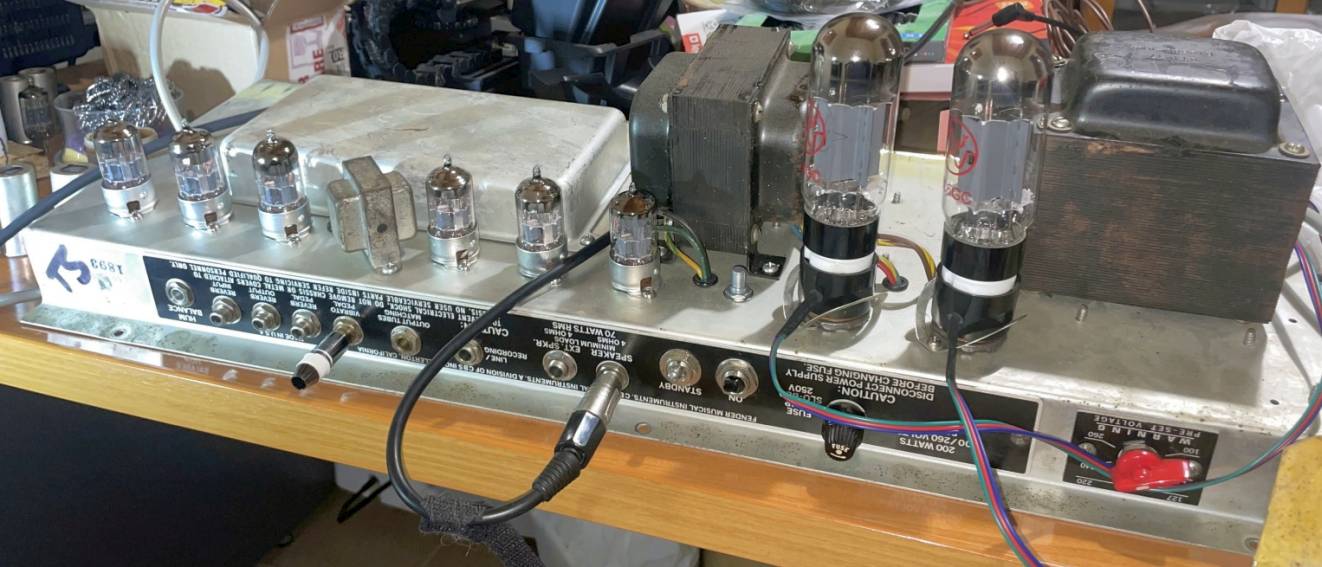
With the recap, the bias mod, and the two channel mods all done, the chassis went back on the bench outside the cabinet for a full power-up and final bias check—tubes lit, both output tubes verified and matched using the newly adjustable bias control, before everything went back into the cabinet for good.
What Actually Fixed It
- Root cause found and fixed: an unsoldered factory heater wire that had arced and killed a preamp tube, plus a broken power-tube pin and cracked screen grid resistor from the previous owner’s troubleshooting attempt.
- Full board audit of every resistor and capacitor before any repair work began, with parts ordered against real findings rather than guesswork.
- Doghouse rebuilt to spec: fresh TAD 220µF/350V electrolytics, cleanly dressed and wired.
- Full eyelet board recap with TAD electrolytics, plus TAD orange drops specifically where coupling caps tested as leaking.
- Broken and out-of-spec resistors corrected, including the one cracked during the original failure.
- A genuinely adjustable bias: the factory balance-only pot reworked into real bias-level control.
- Two reversible tonal mods: a switchable tweed-style tone stack on the Normal channel, and reverb/tremolo extended to the Normal channel.
- Cabinet refreshed: original grille cloth cleaned and kept, new custom drip edge, fresh chrome hardware.