From Junk to Gem: Fender Deluxe Reverb 1971 Restoration
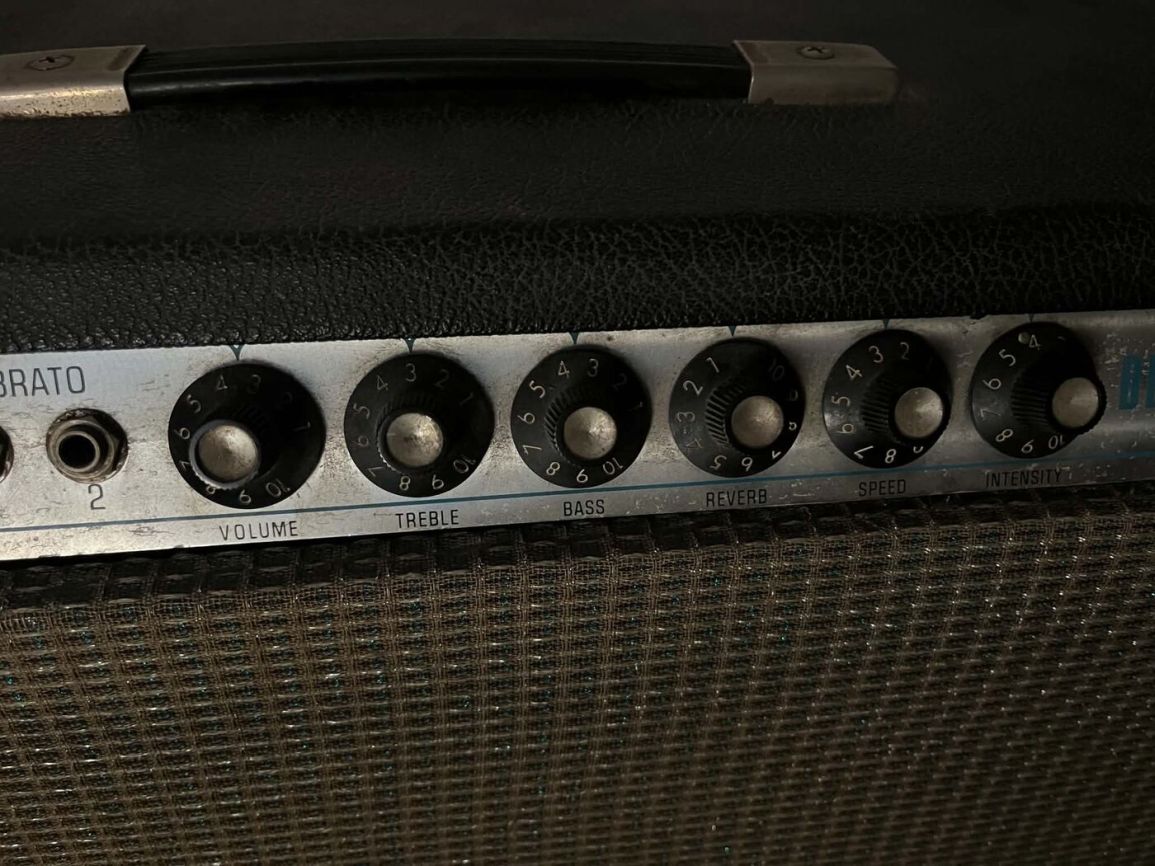
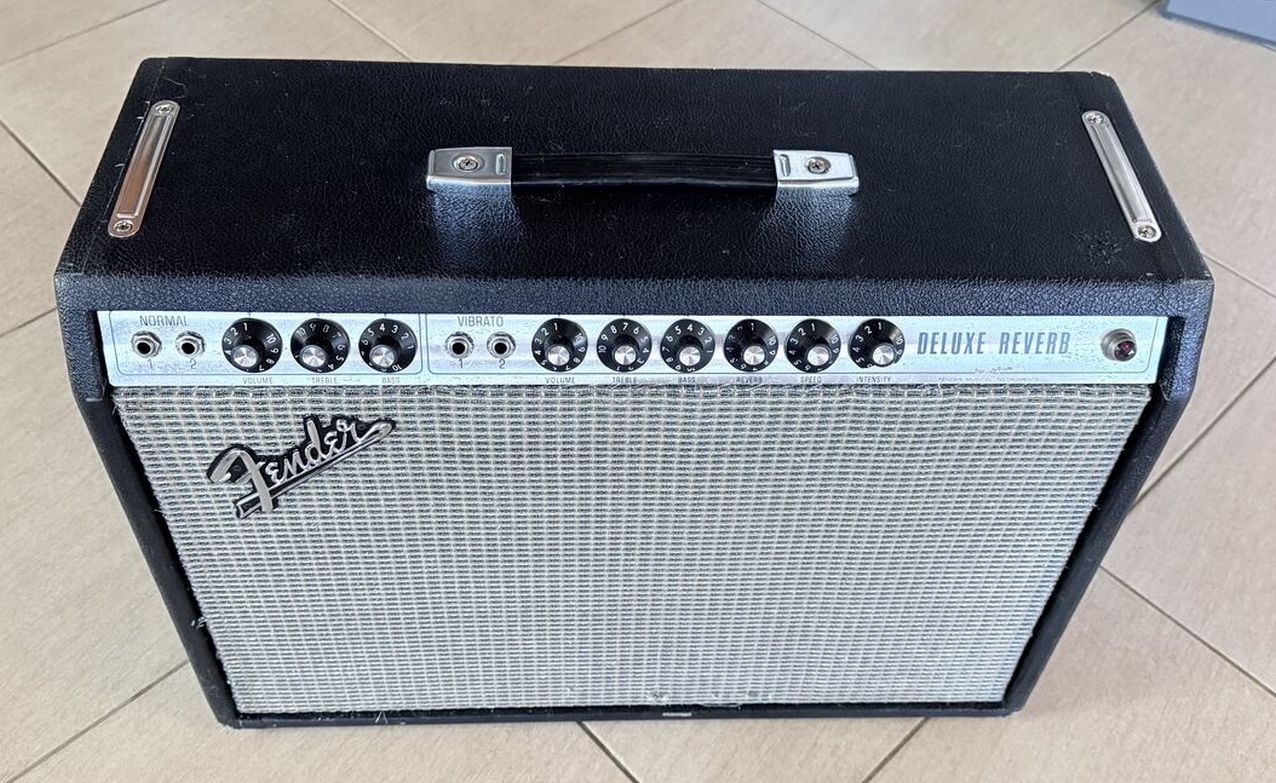
A silverface A1270-era Deluxe Reverb, deep into bedroom-tech territory — brought back to a dead-silent, correctly biased AB763 blackface-spec amp.
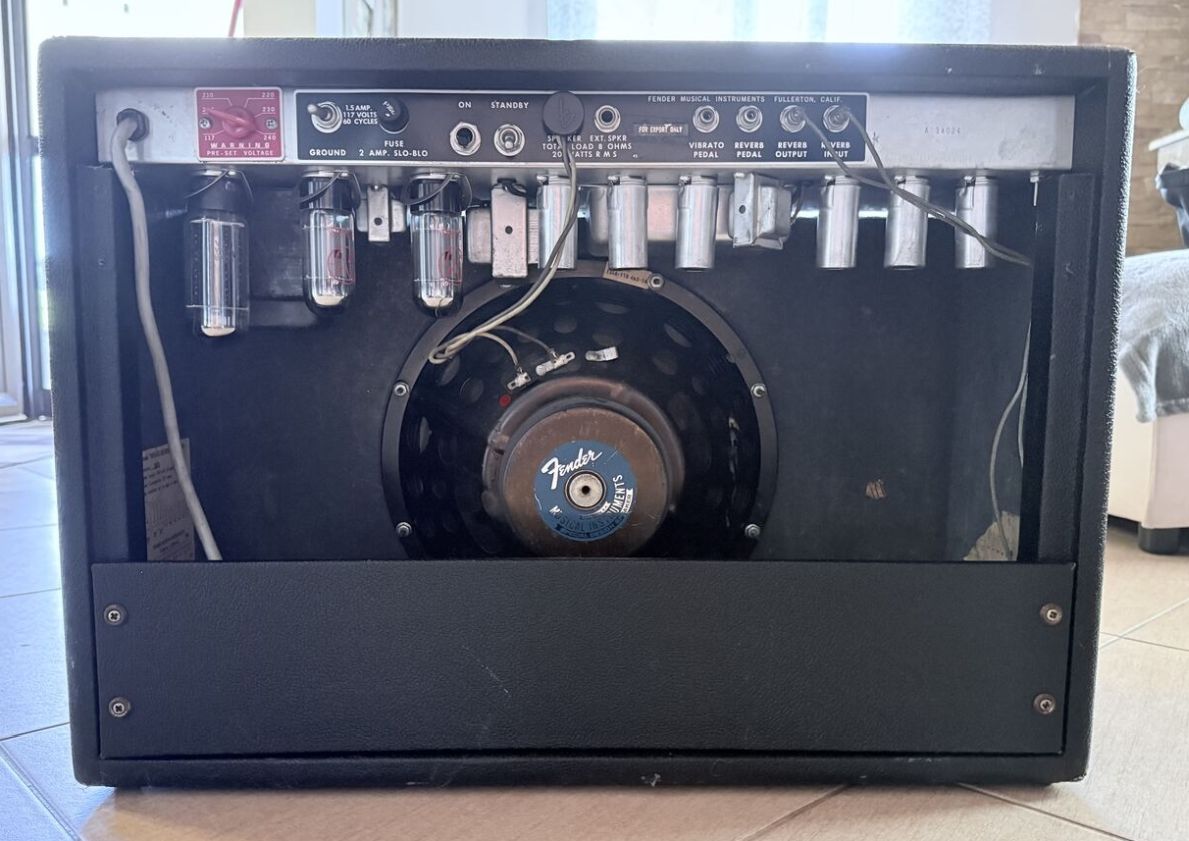
This one came in loud in all the wrong ways: buzzing, crackling, dirty pots and jacks, a torn grille frame, and—once the chassis came out—a pair of 6L6s sitting in a circuit built for 6V6s, fed by doghouse filter caps that had been hacked to accommodate them. Nothing about the mod was done with any real care. This is the full bench log, intake through final bias.
Intake: What Showed Up on the Bench
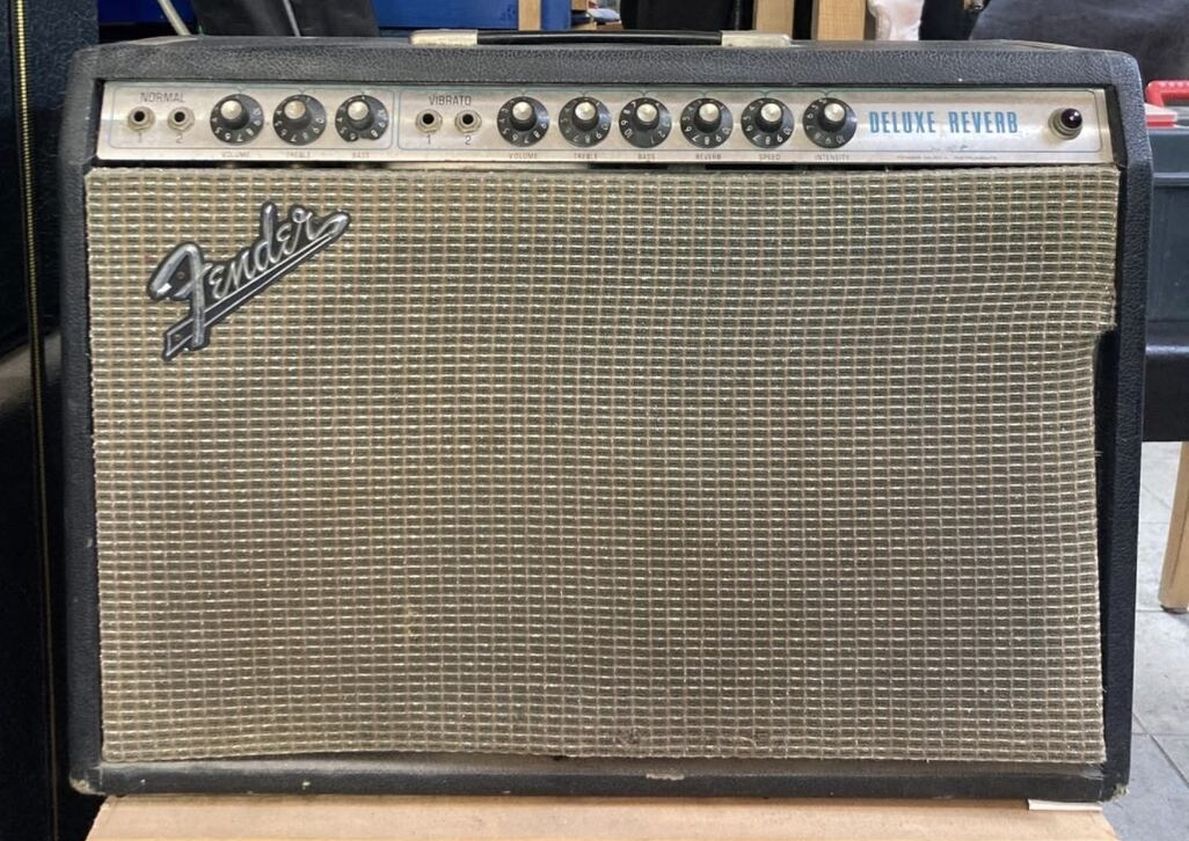
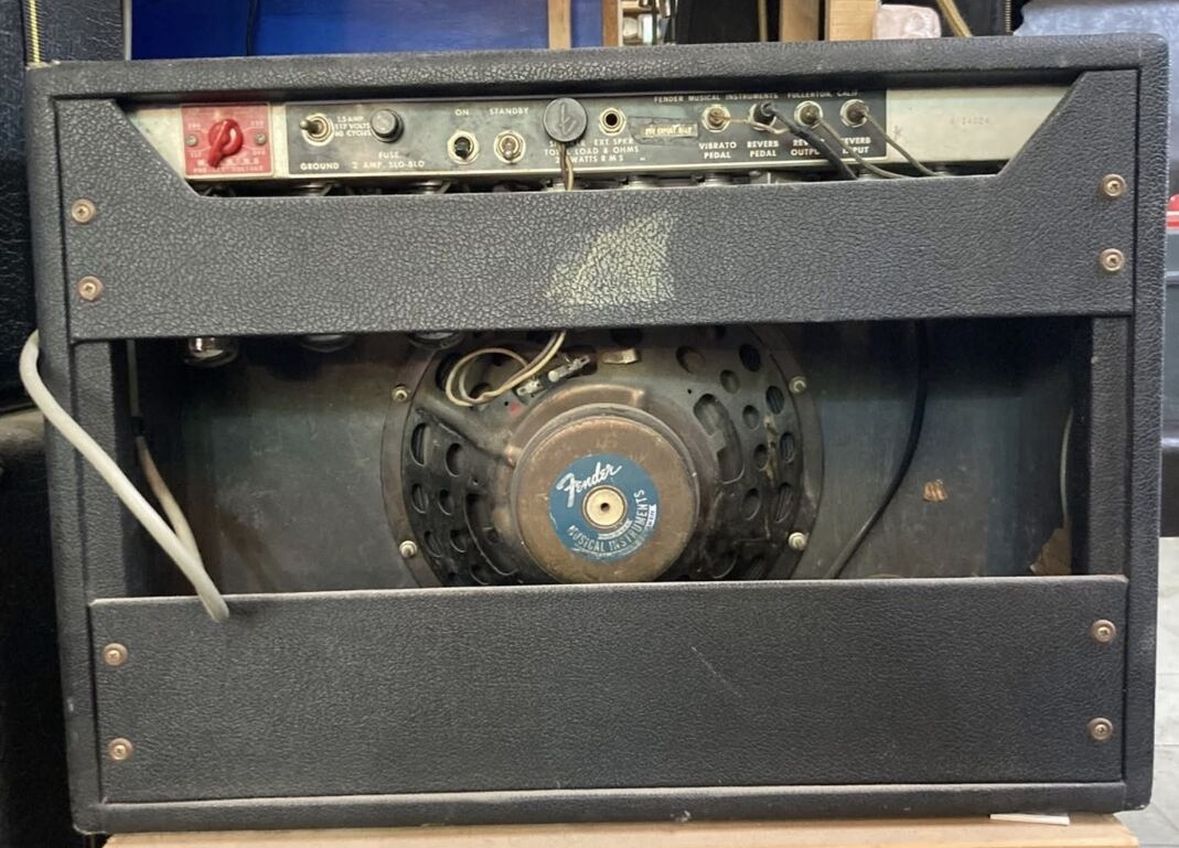
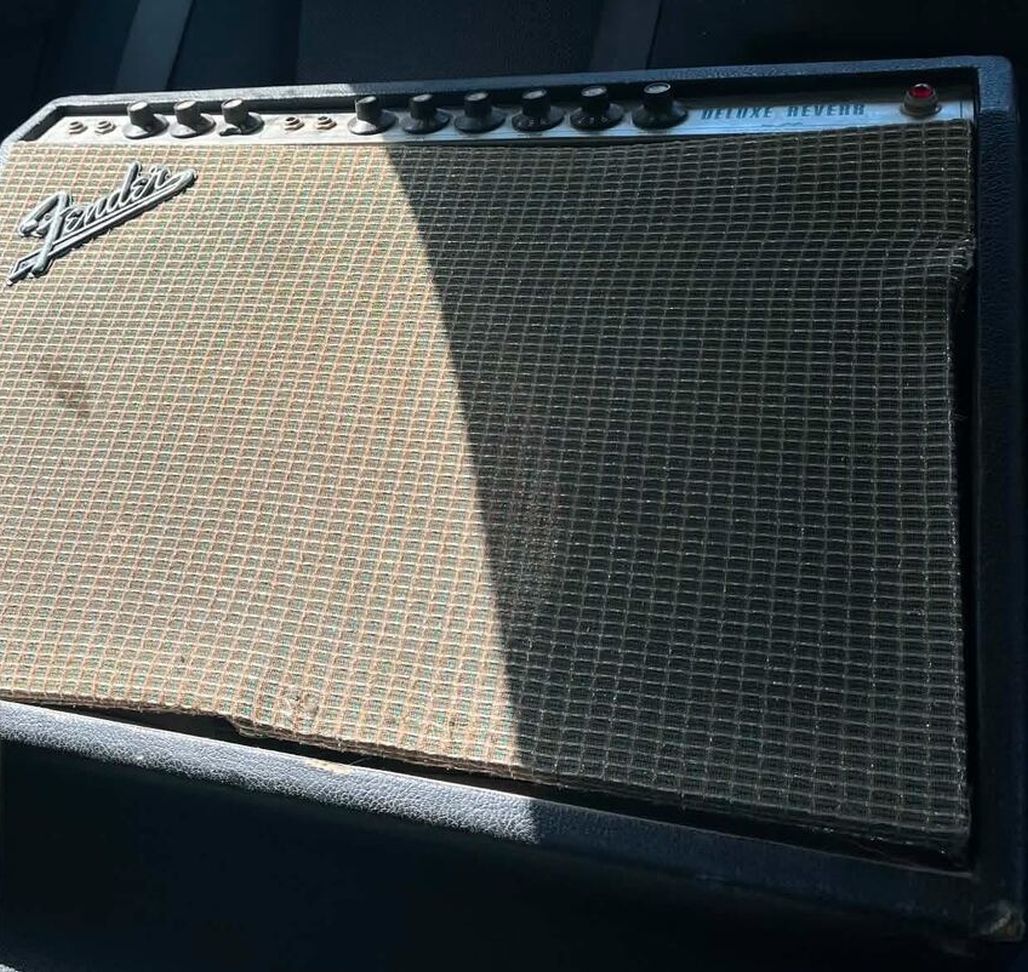
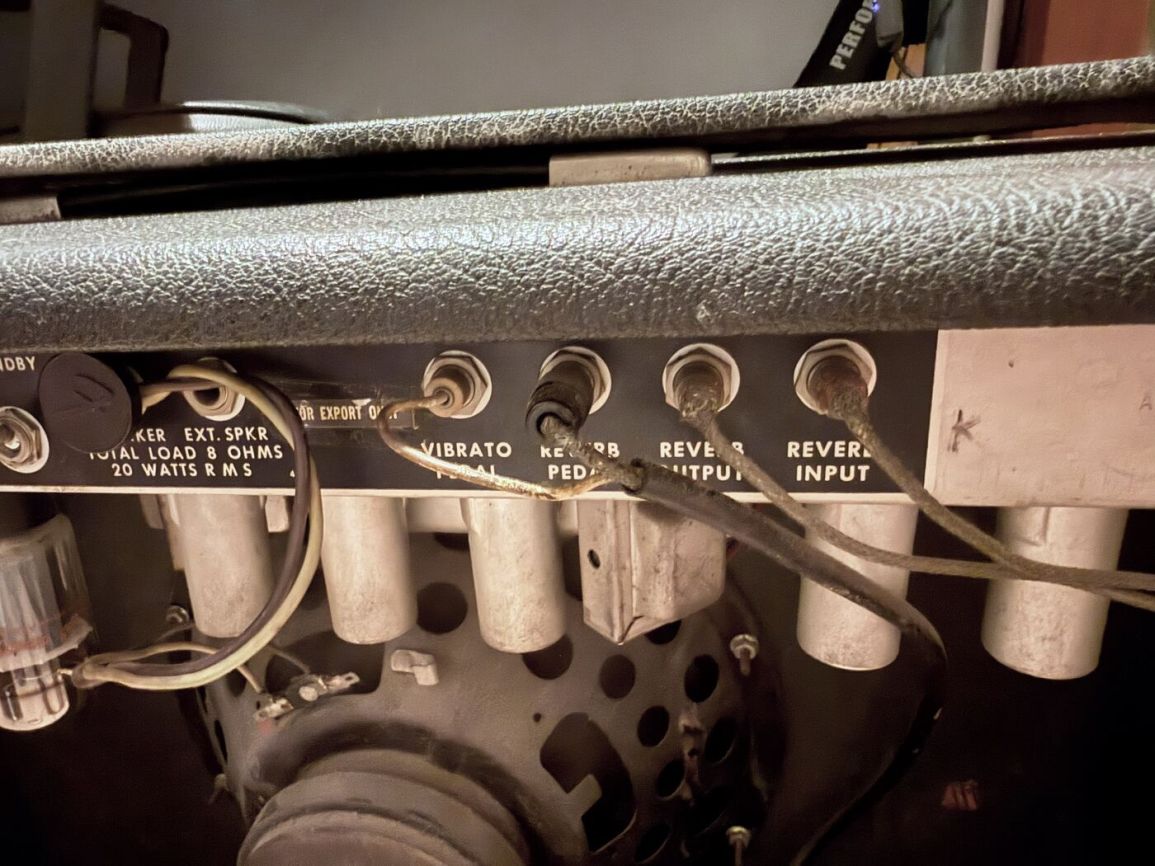
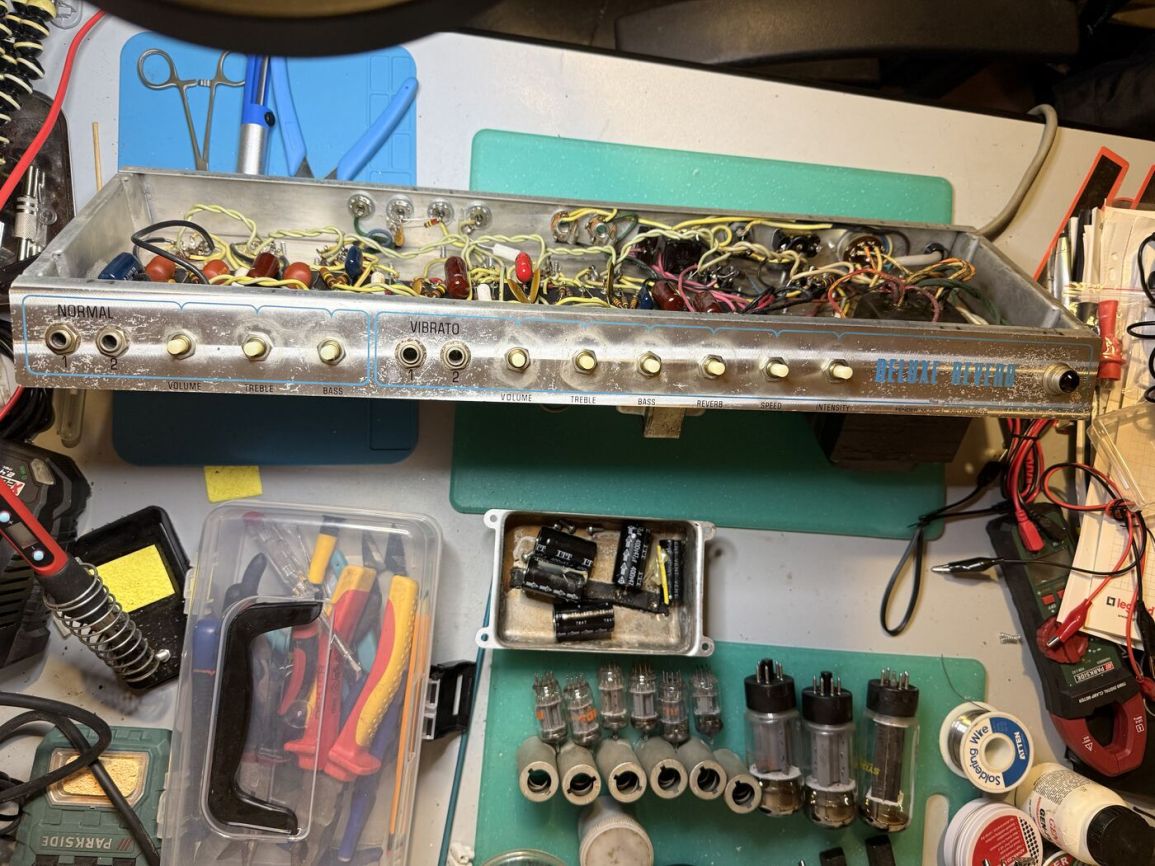
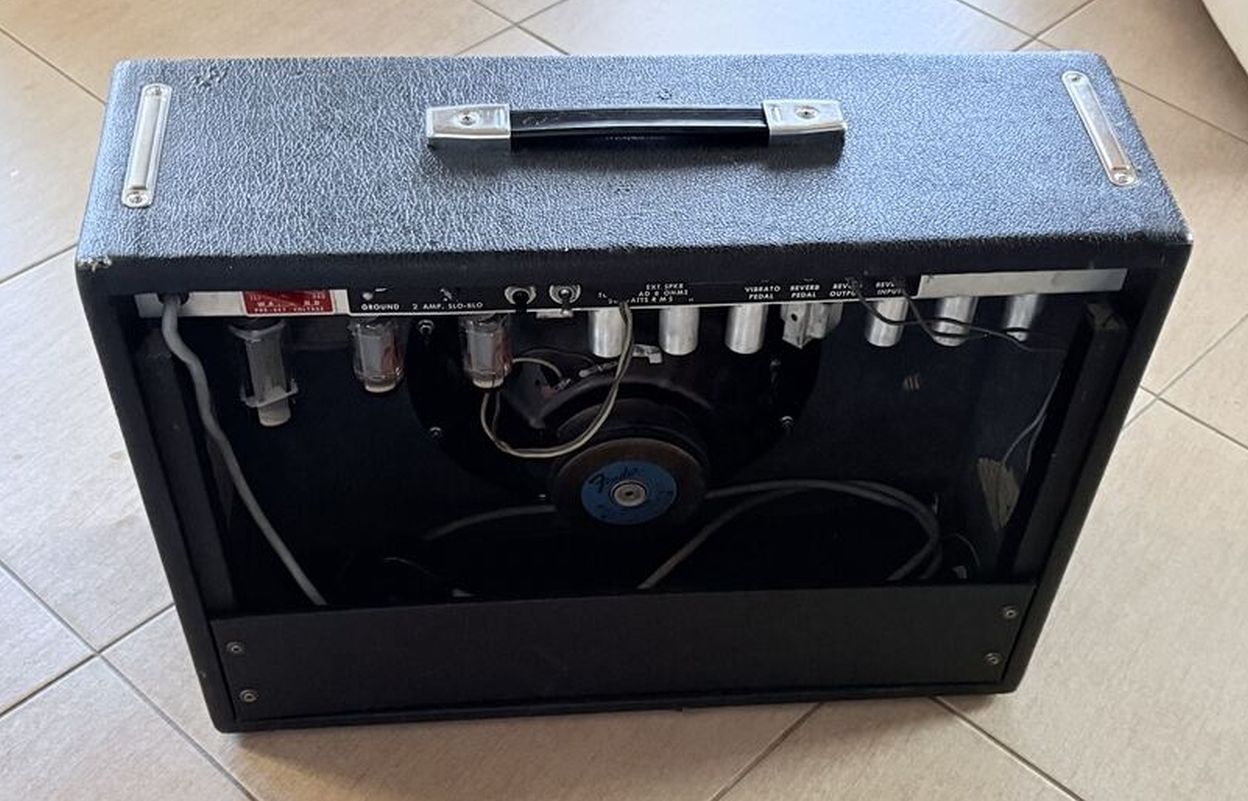
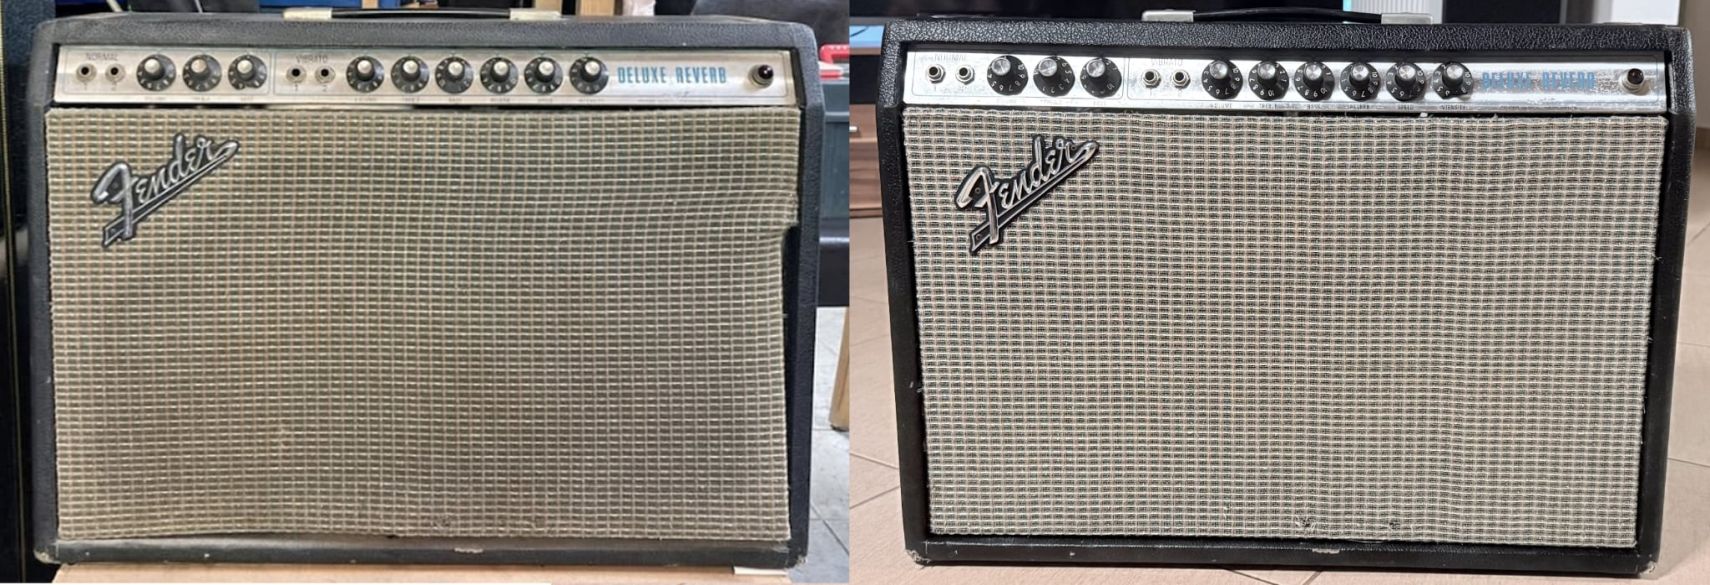
First impressions: a scuffed but structurally sound cabinet, a broken grille frame with the cloth sagging loose, and an amp that was extremely noisy—buzz, crackling, and unreliable pots and jacks. Popping the back panel and chassis out told the rest of the story before a single voltage was measured.
The Diagnosis: Wrong Tubes, Worse Wiring
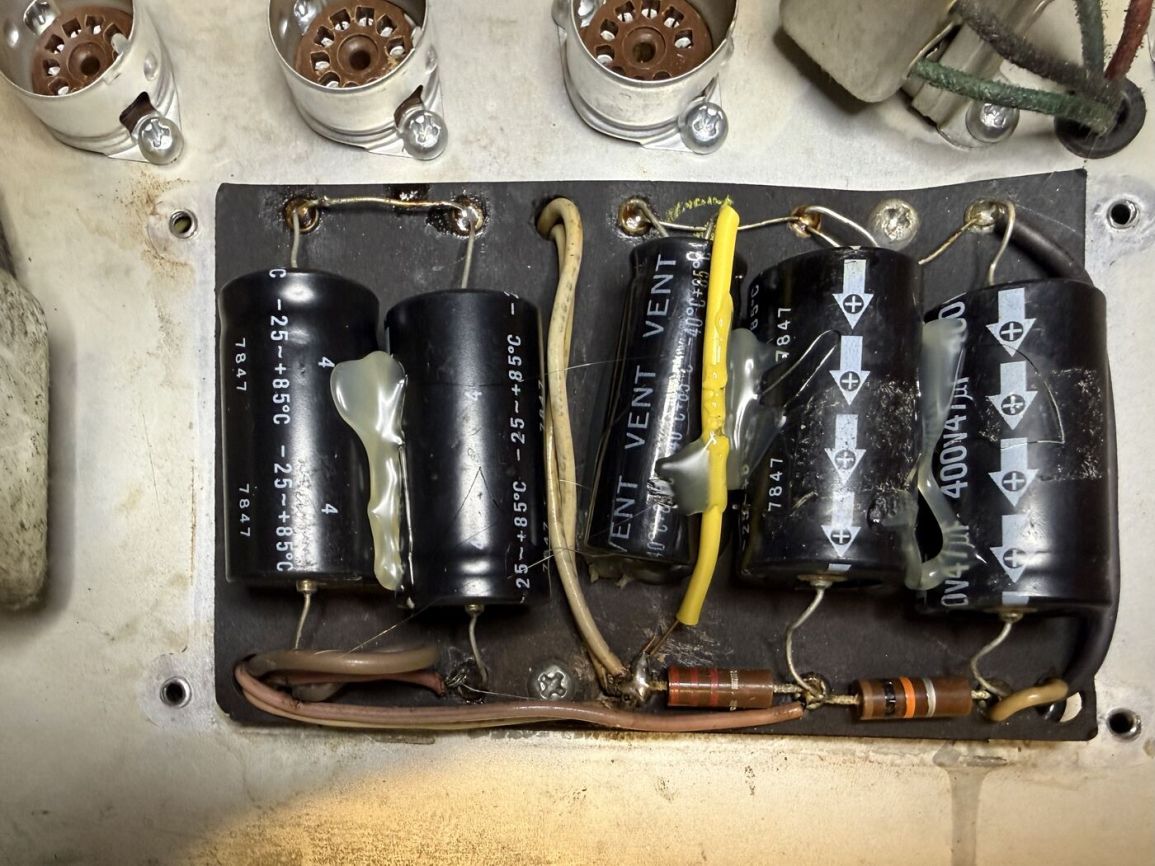
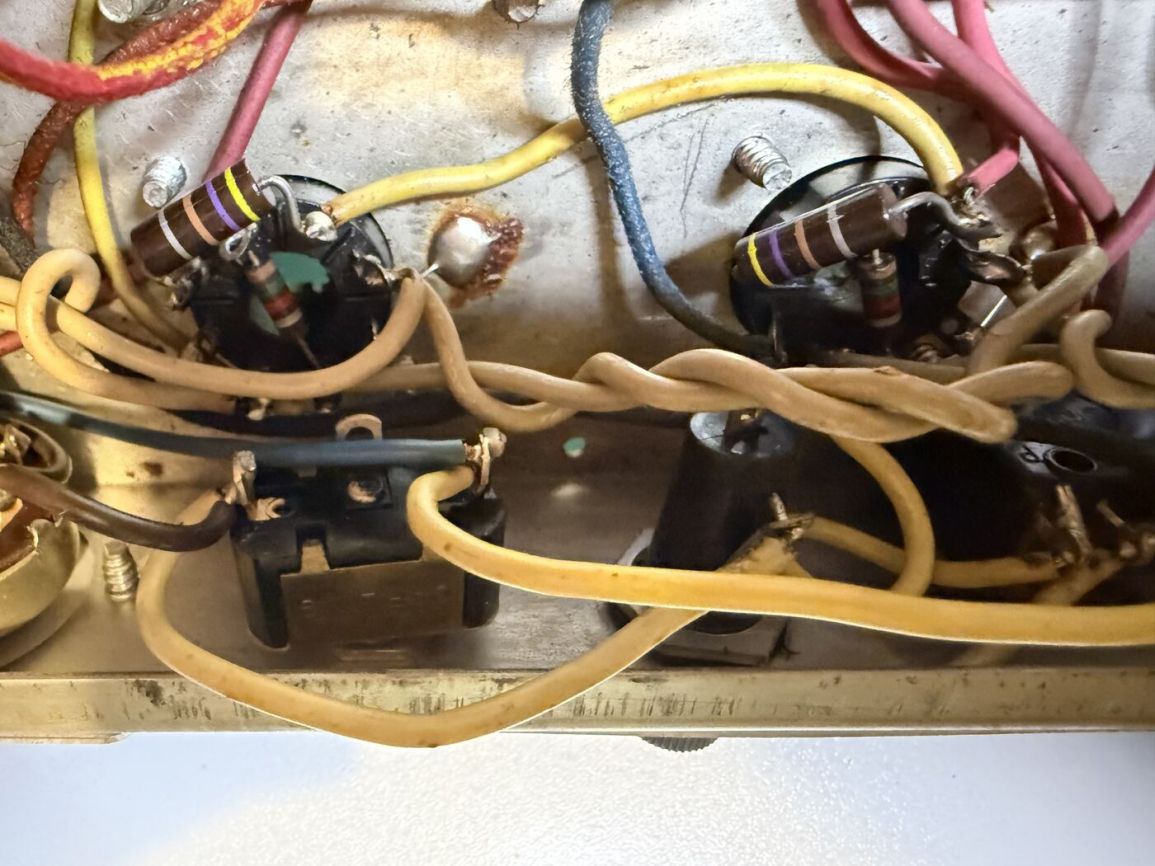
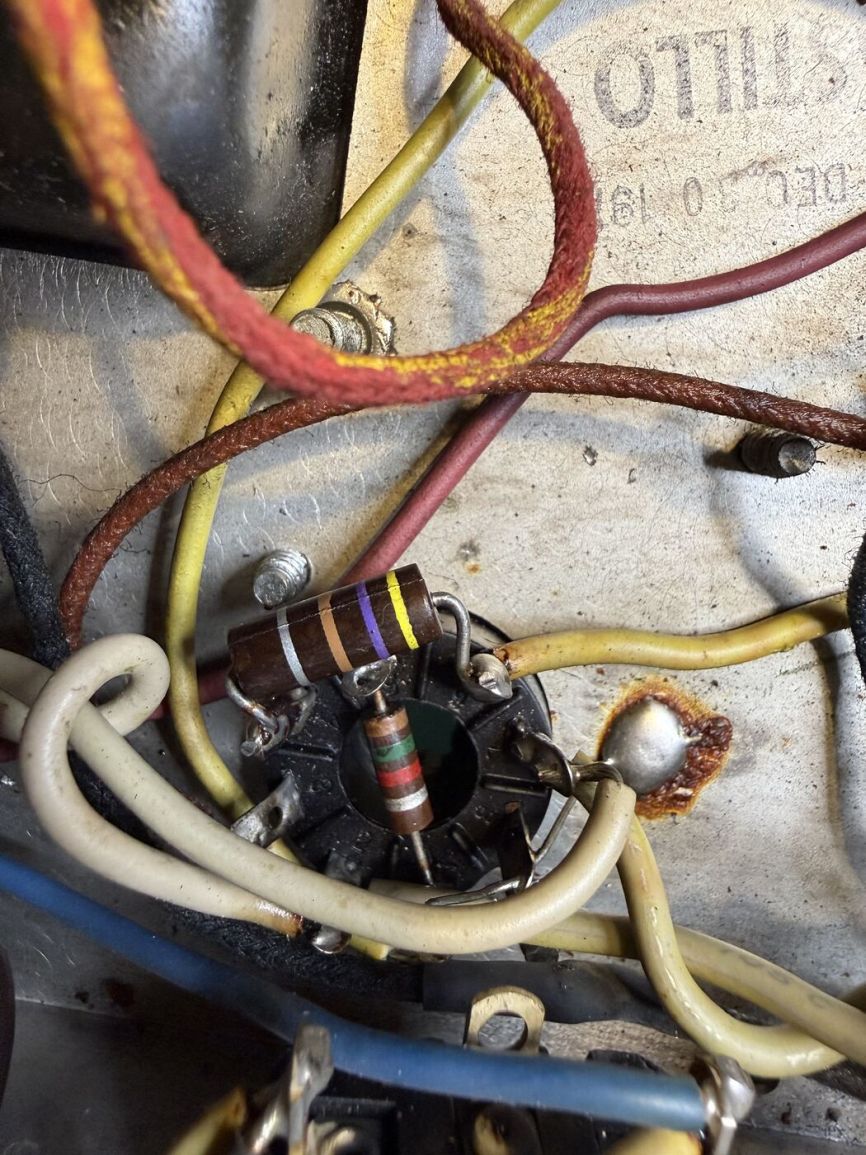
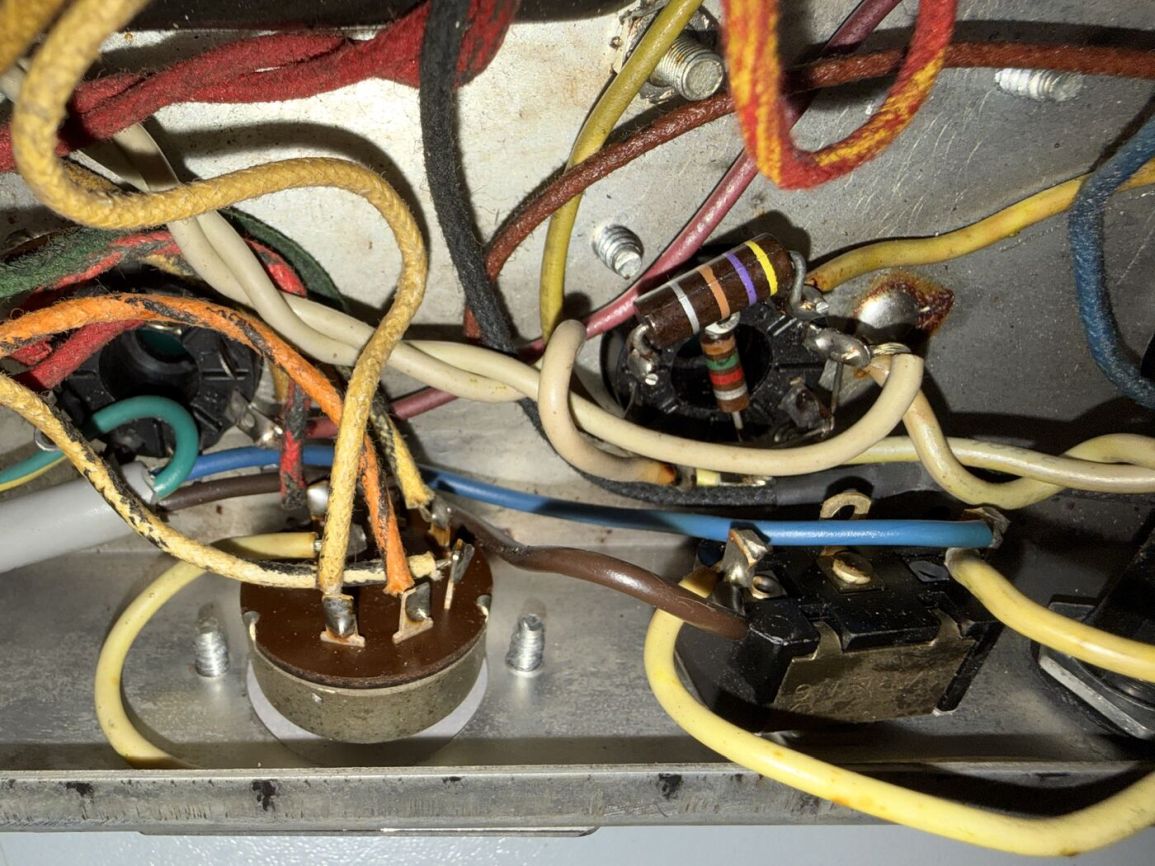
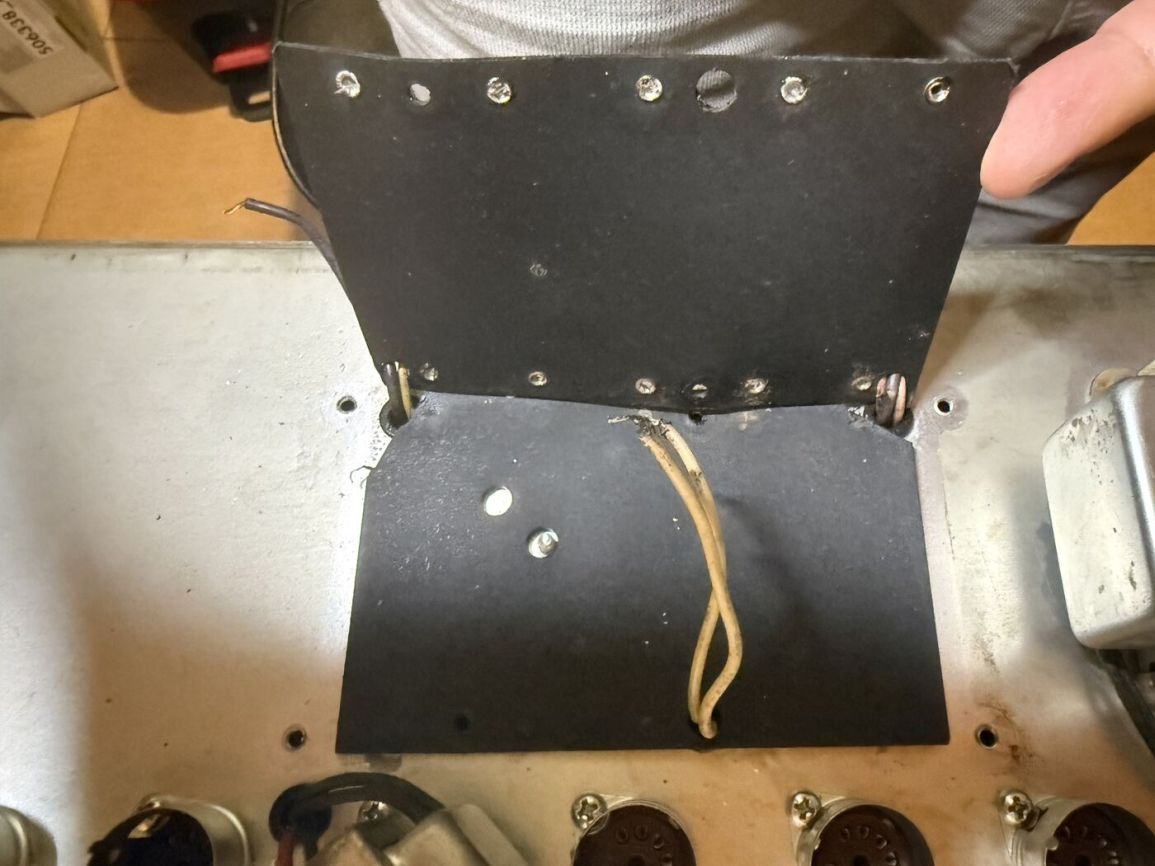
Two problems compounded each other. First, the amp had a matched pair of 6L6s in the power stage—tubes this chassis was never designed to run. Someone, at some point, decided a Deluxe Reverb needed more headroom and swapped in the wrong bottles. Second, and more concerning, the doghouse filter caps had been modded to physically accommodate the change, and it was done in the worst way: a rushed rewire with no real attention, splice quality, and wrong component selection. Combined with decades of dust, oxidized pots, and dirty input jacks, the result was an amp that buzzed, crackled, and couldn’t be trusted on a gig or at all.
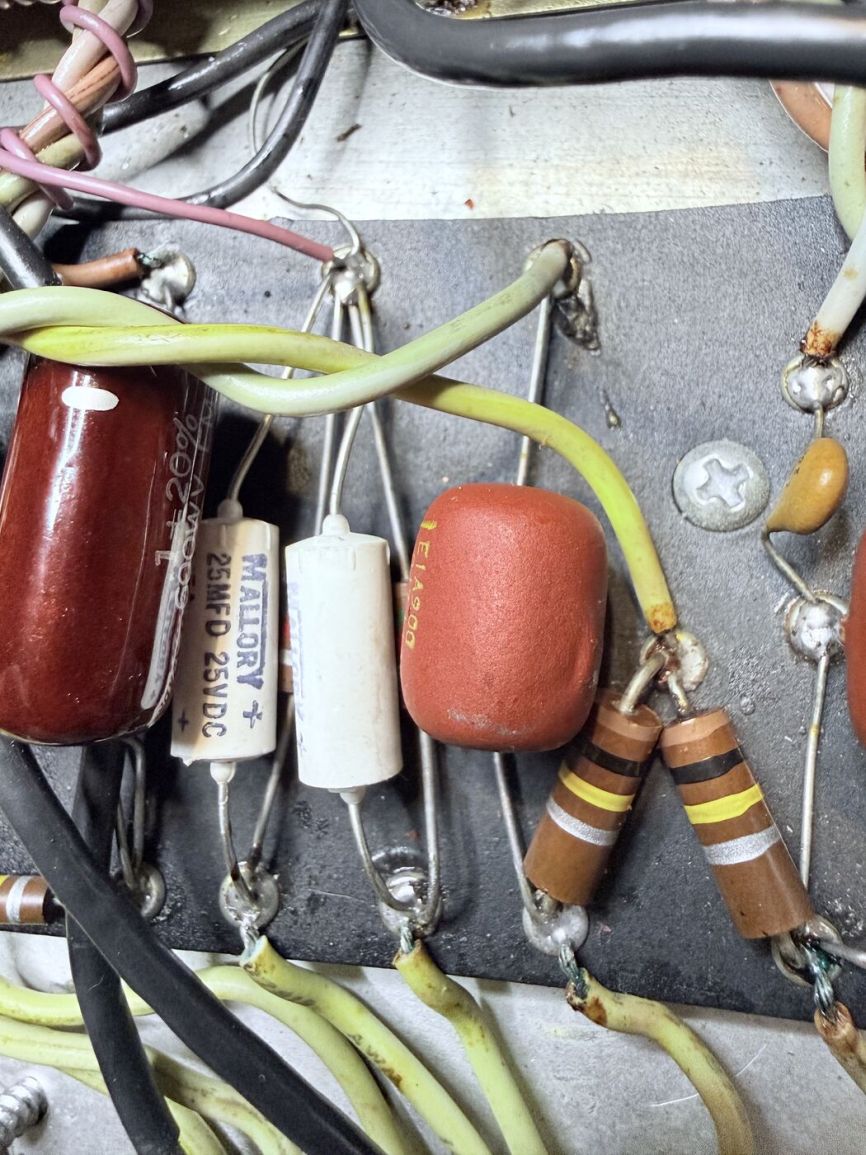
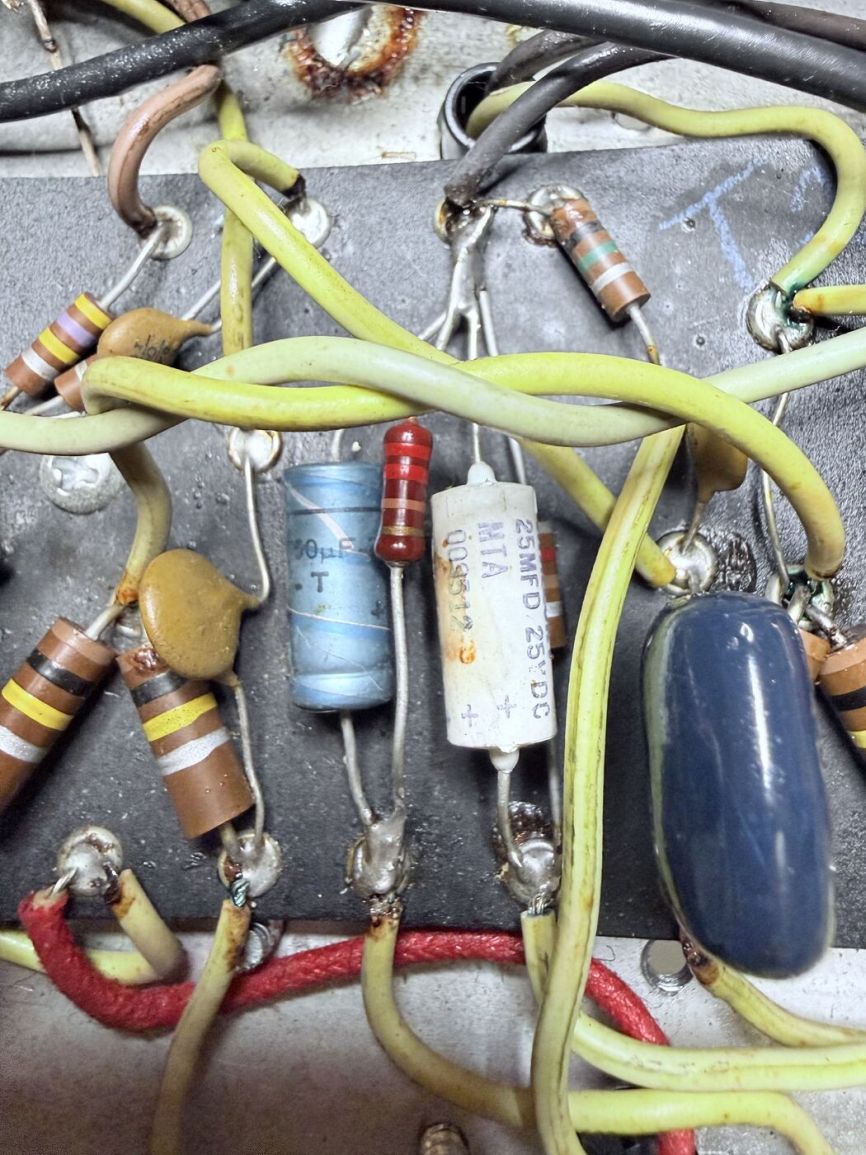
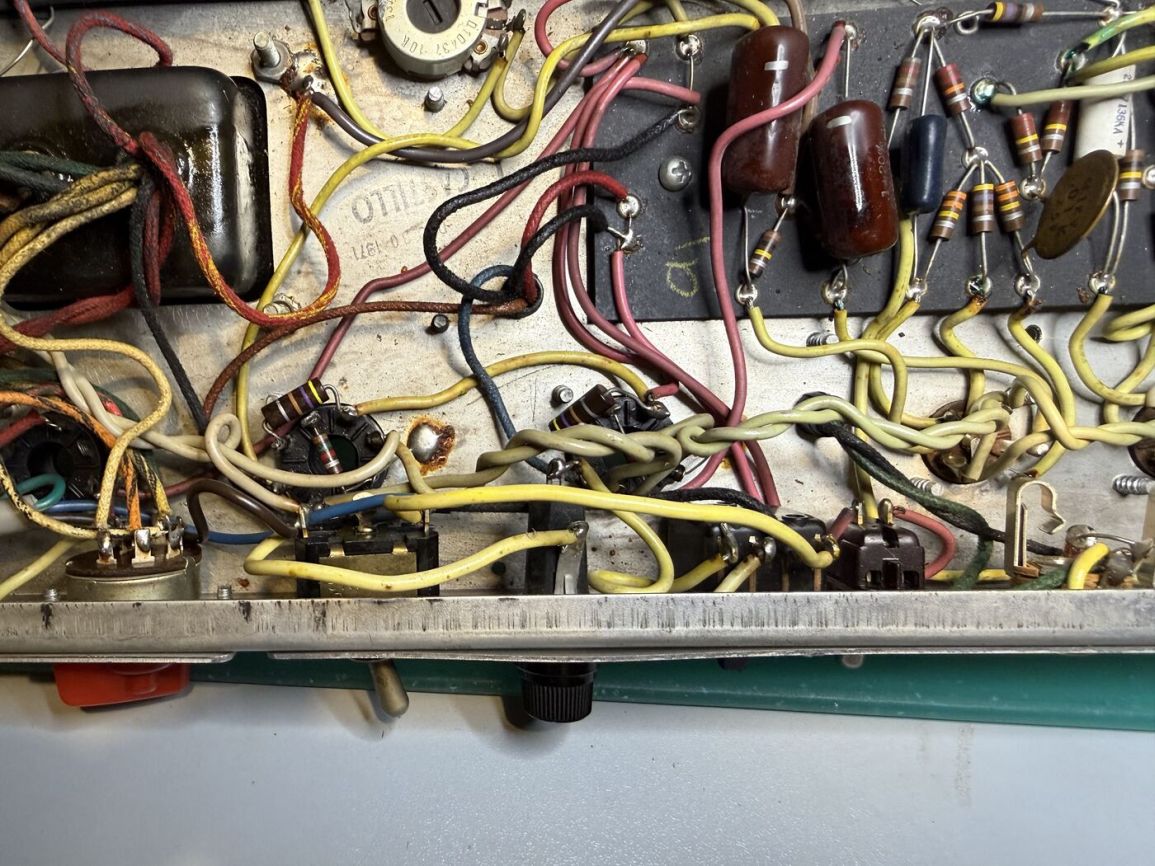
Phase 1: Full Cleaning and Inspection
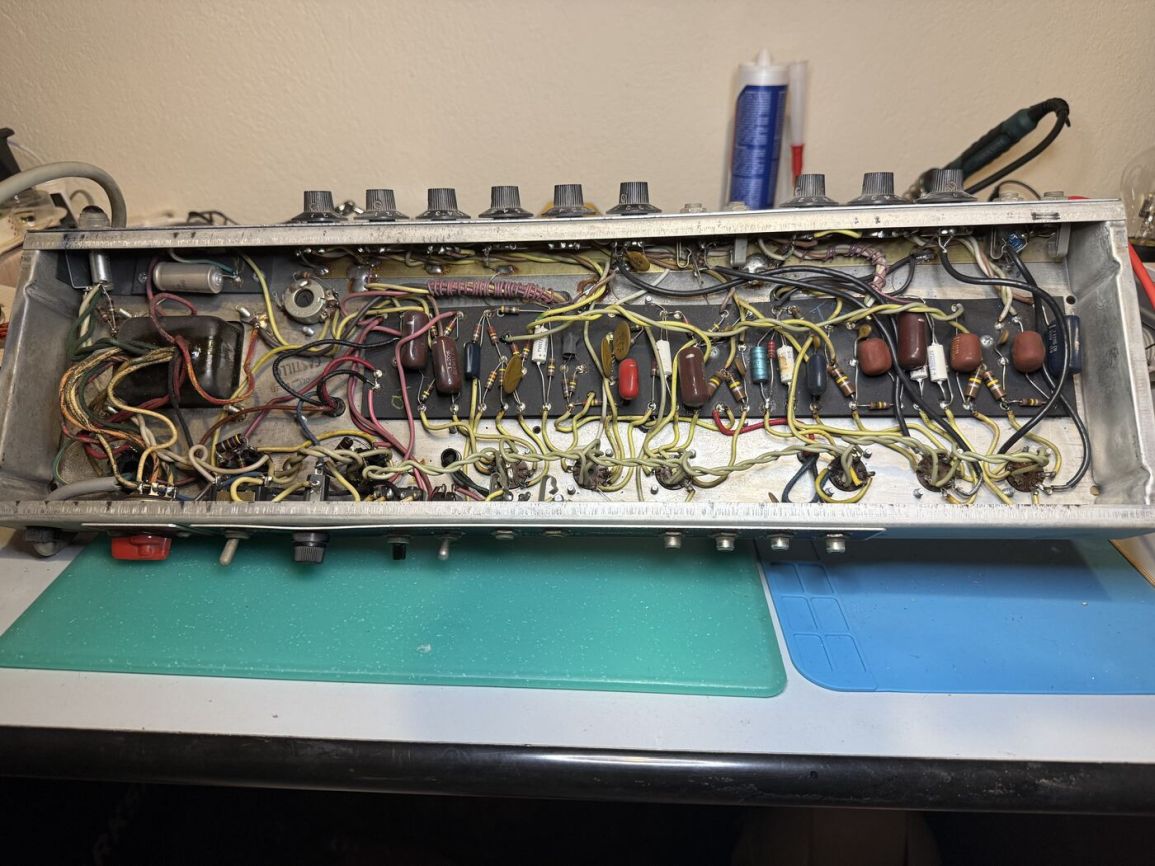
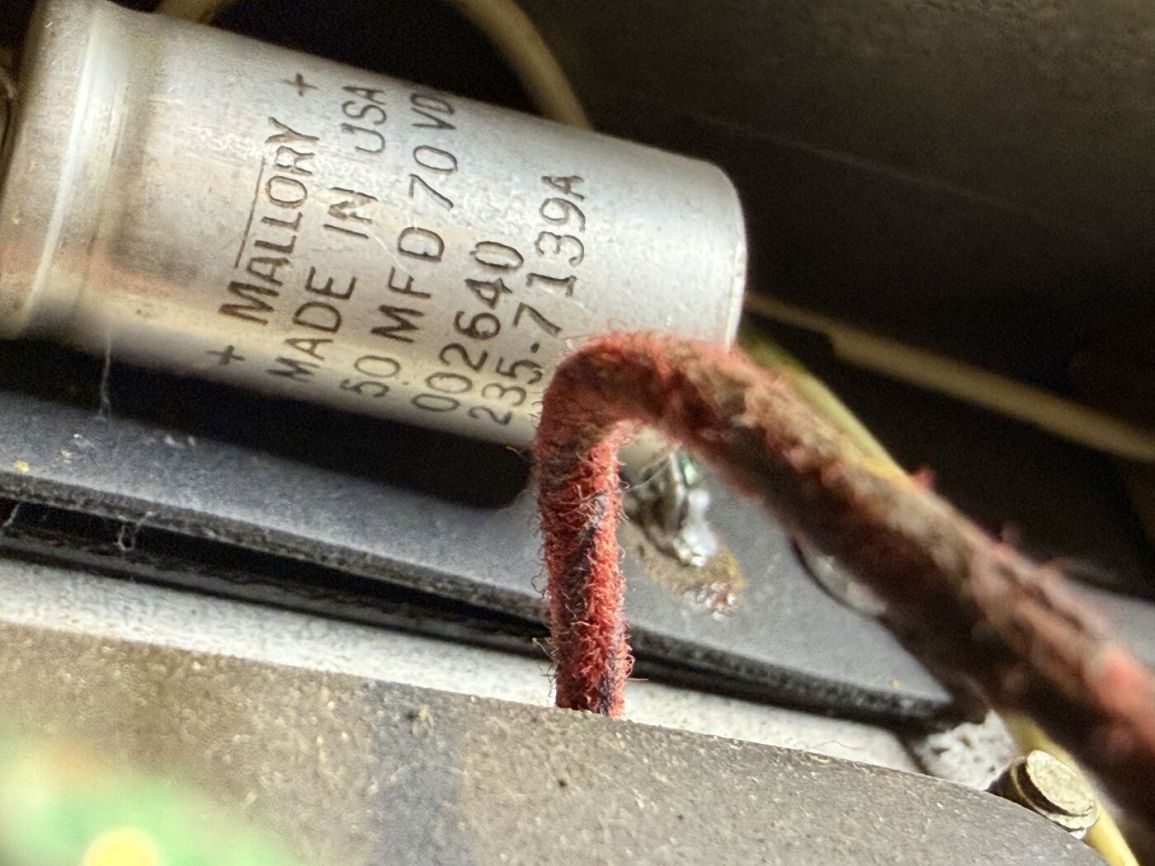
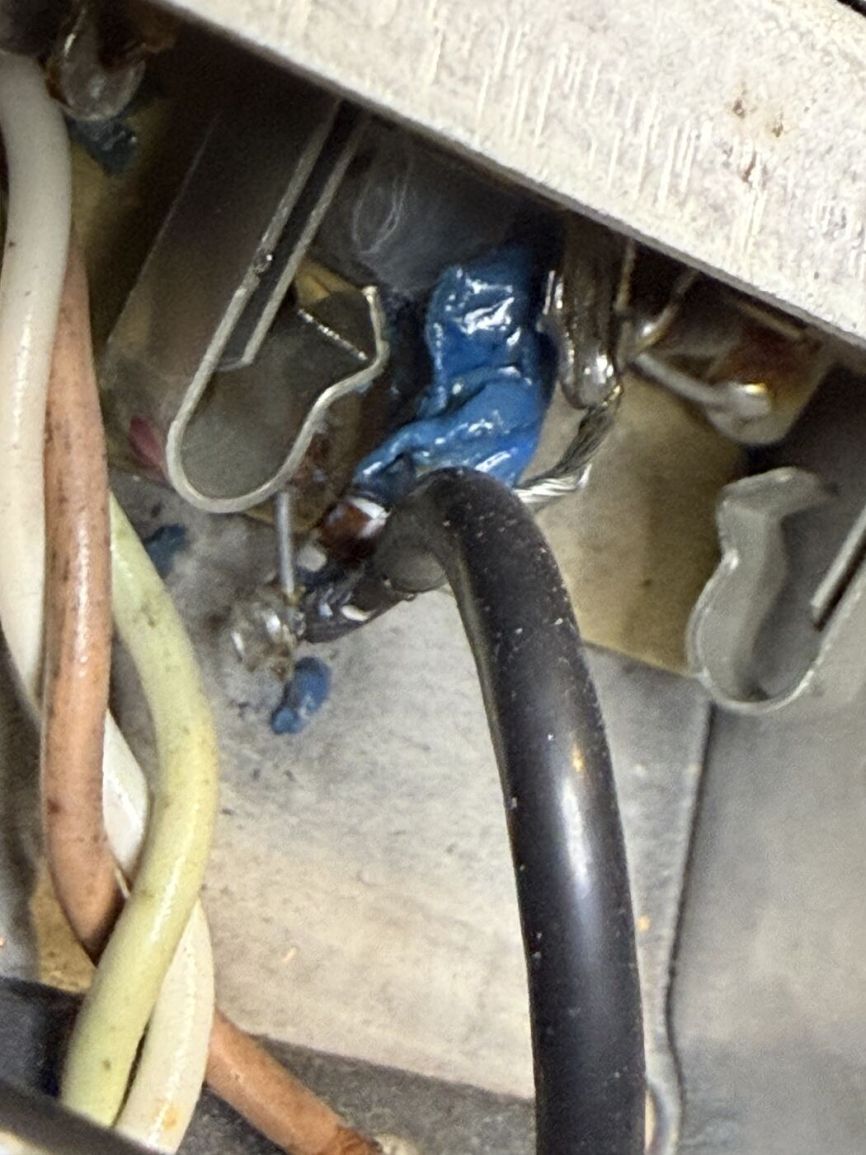
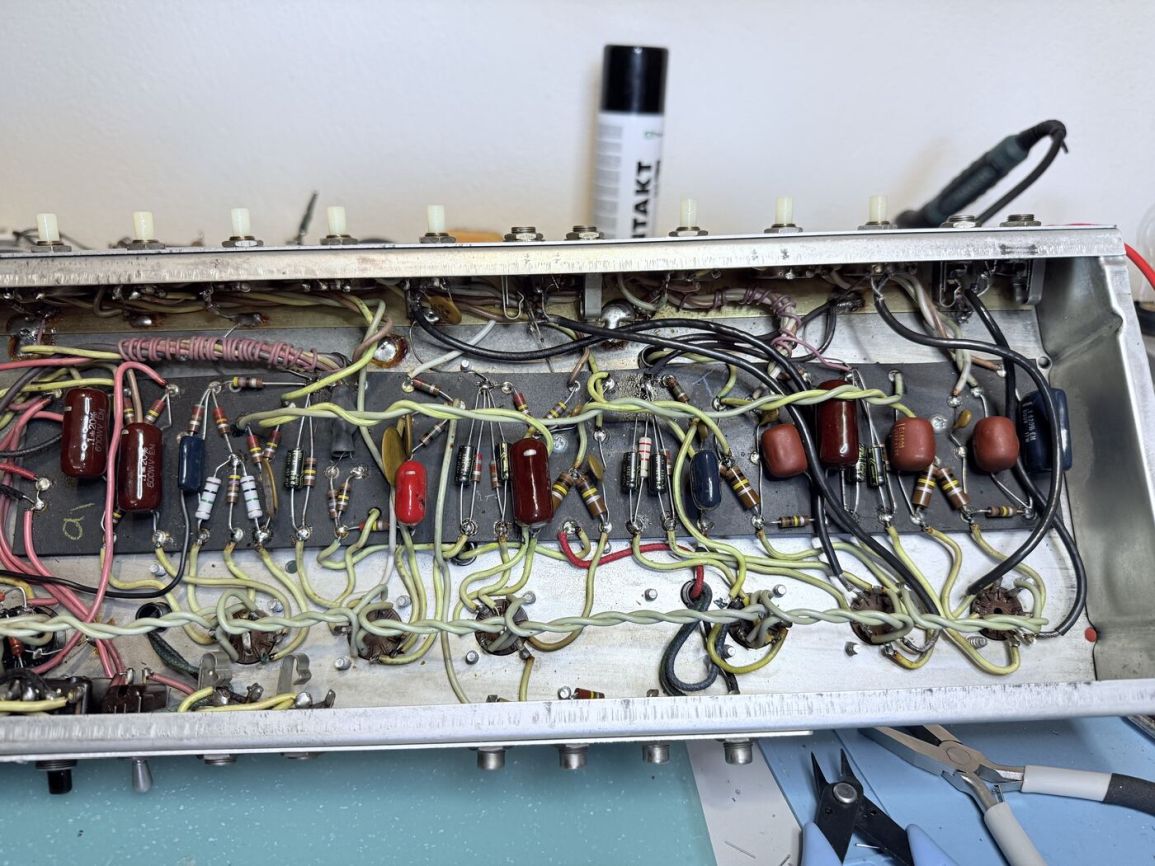
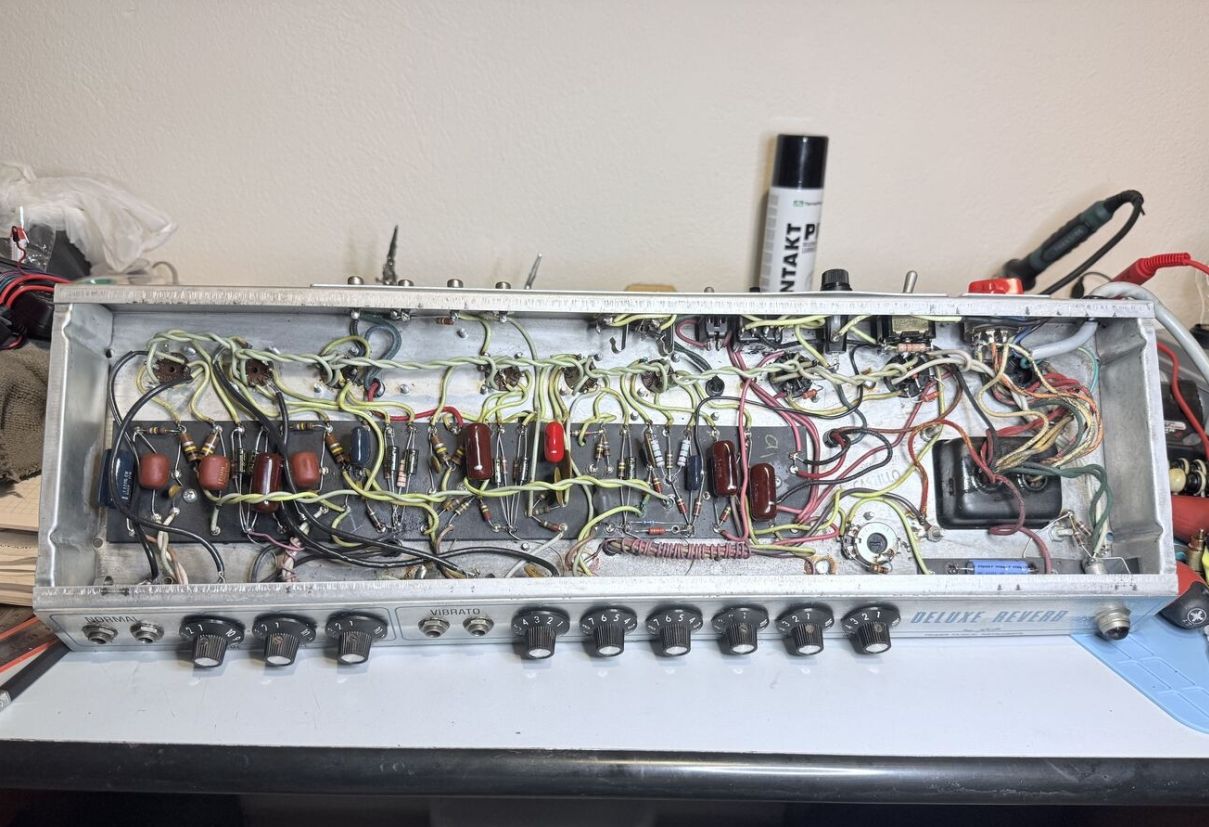
Before any electrical work began, the whole amp got a proper cleaning and inspection pass—chassis, cabinet, pots, jacks, and every cap and resistor on the eyelet board checked against what it should have looked like from the factory. This is the step that gets skipped by bedroom techs in a hurry, and it’s the one that tells you what you’re actually dealing with before you commit to a repair plan.
Phase 2: The Grille Cloth — Cleaned, Not Replaced
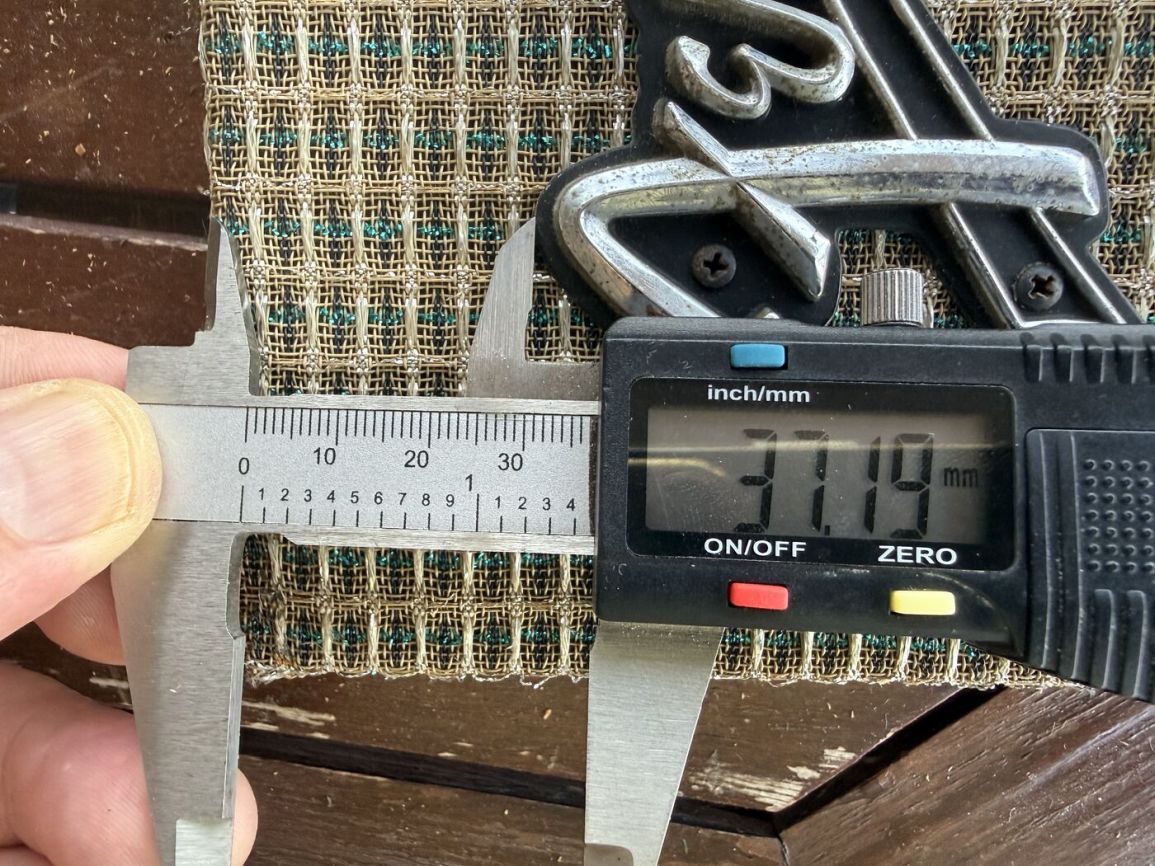
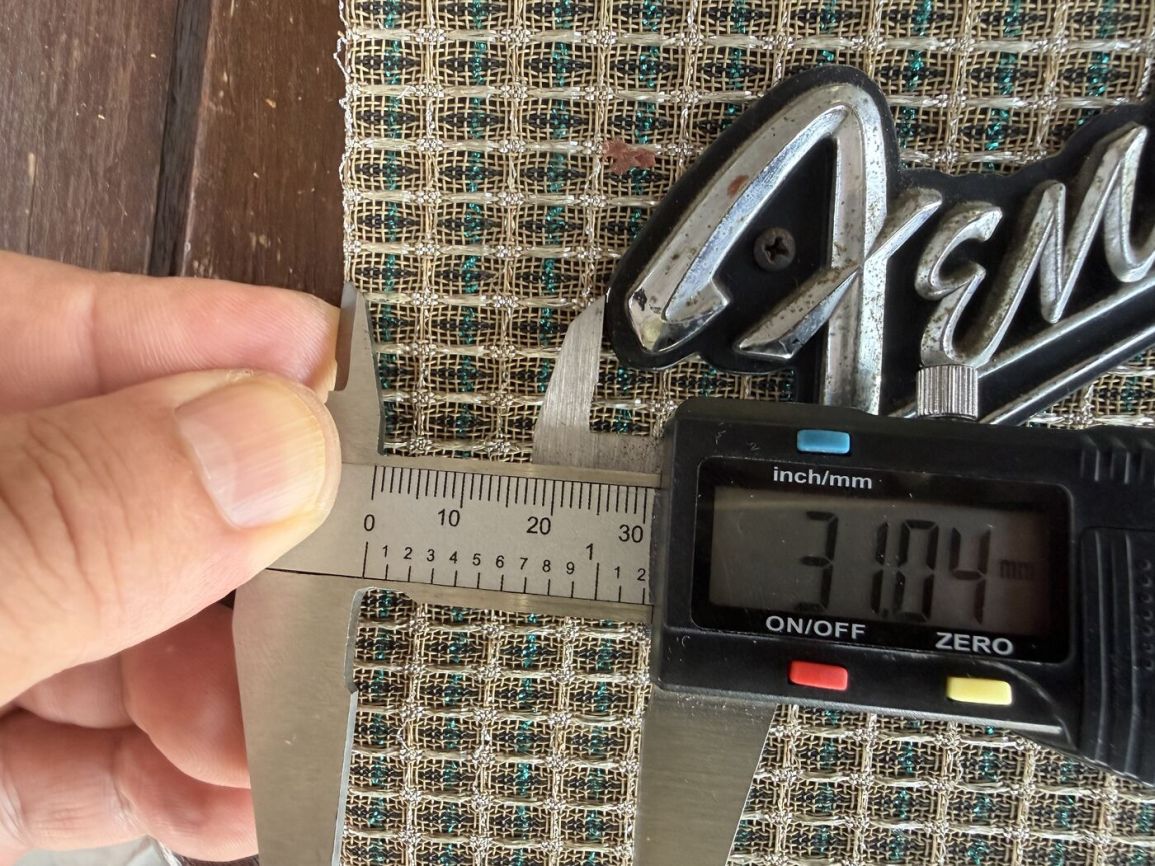
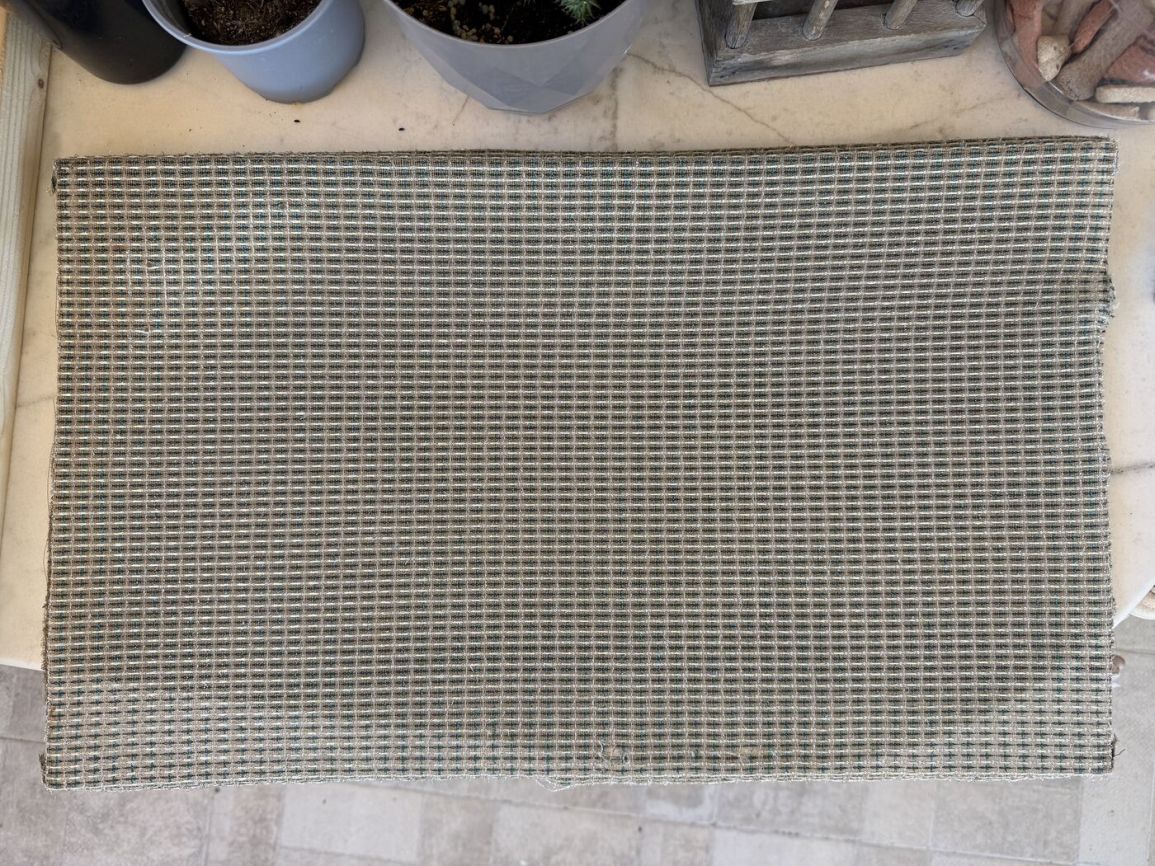
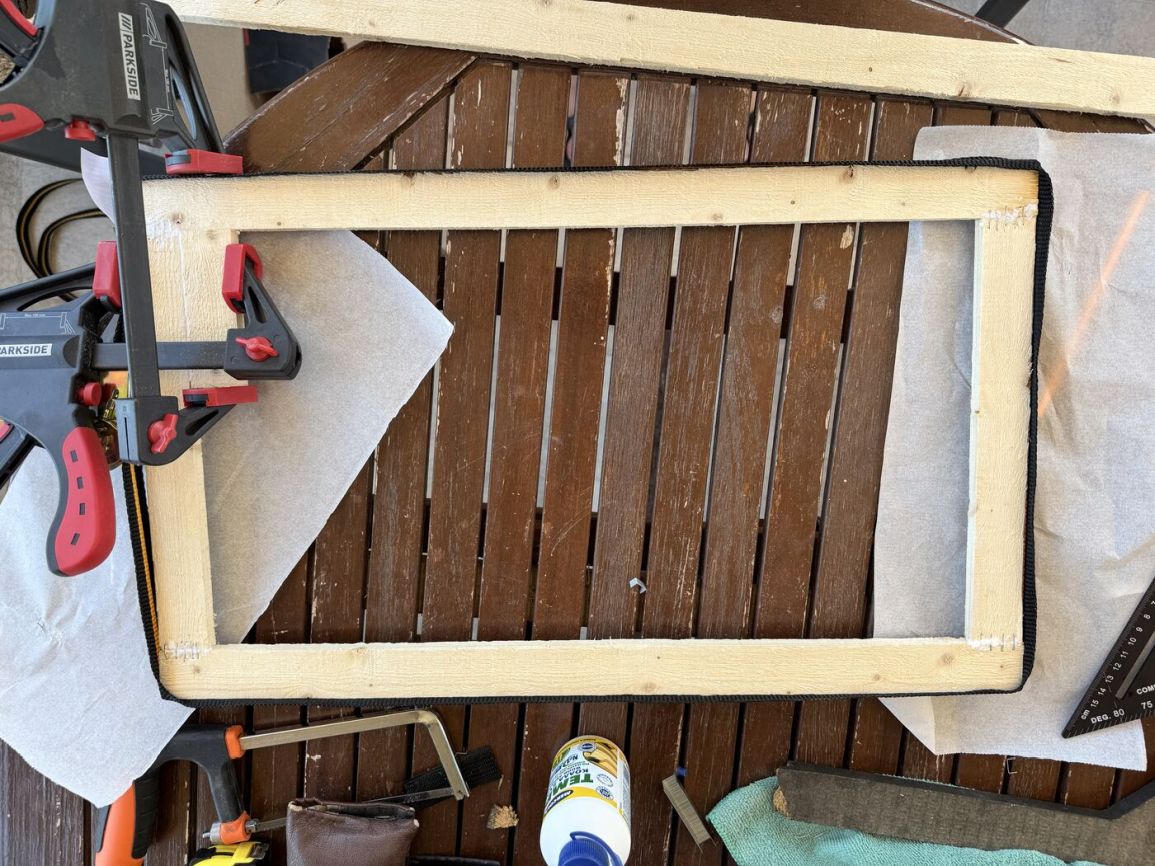
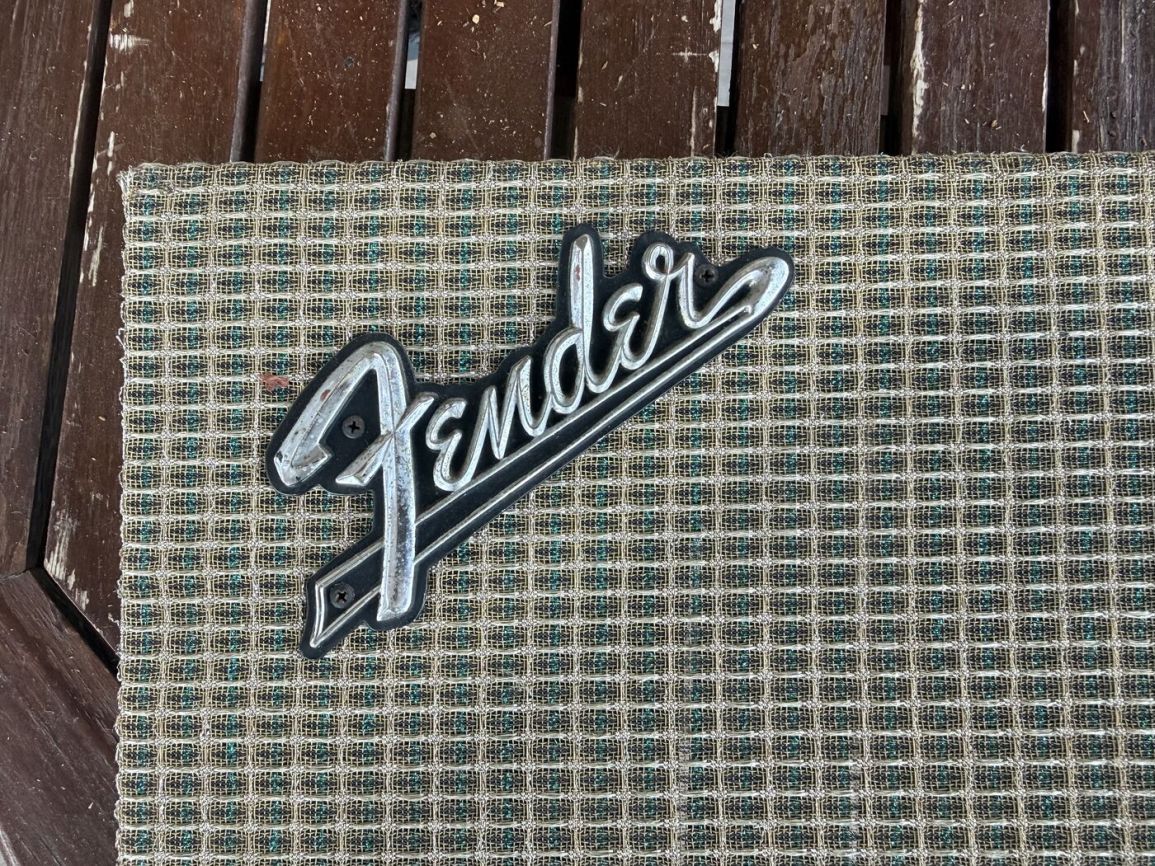
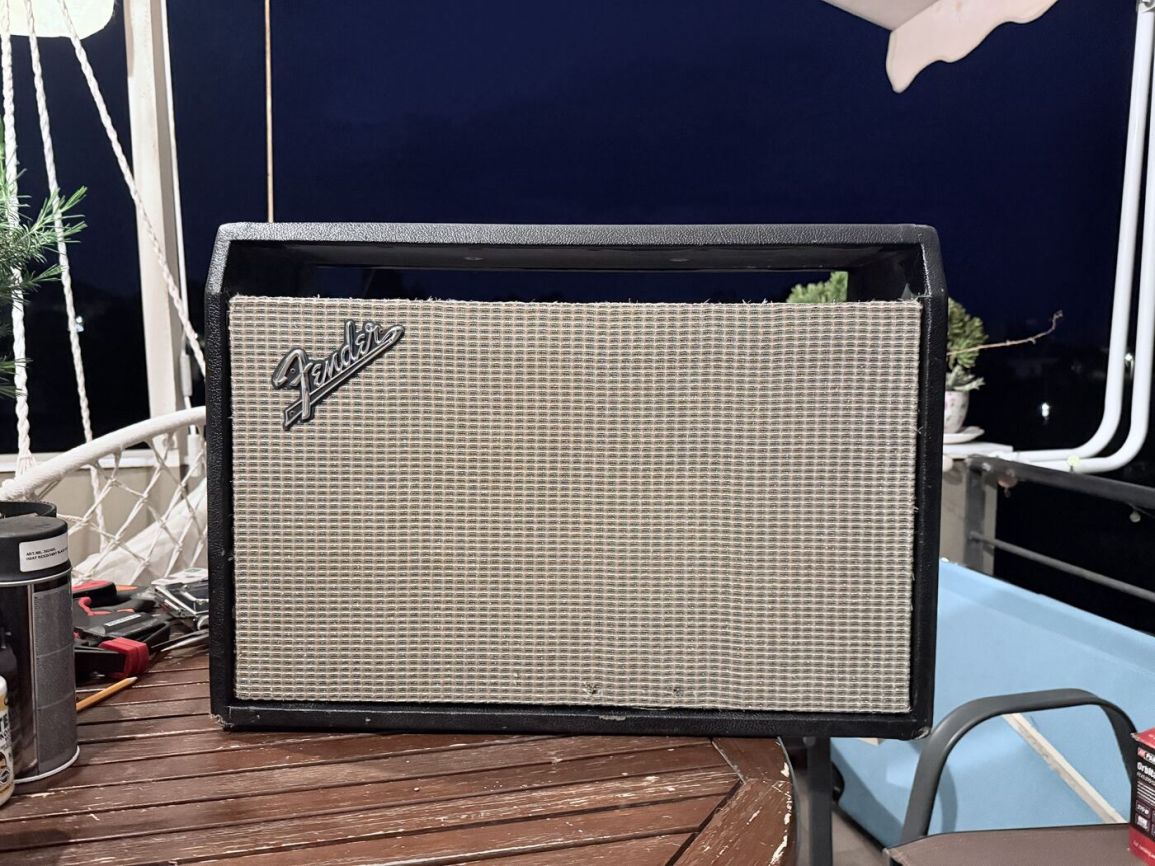
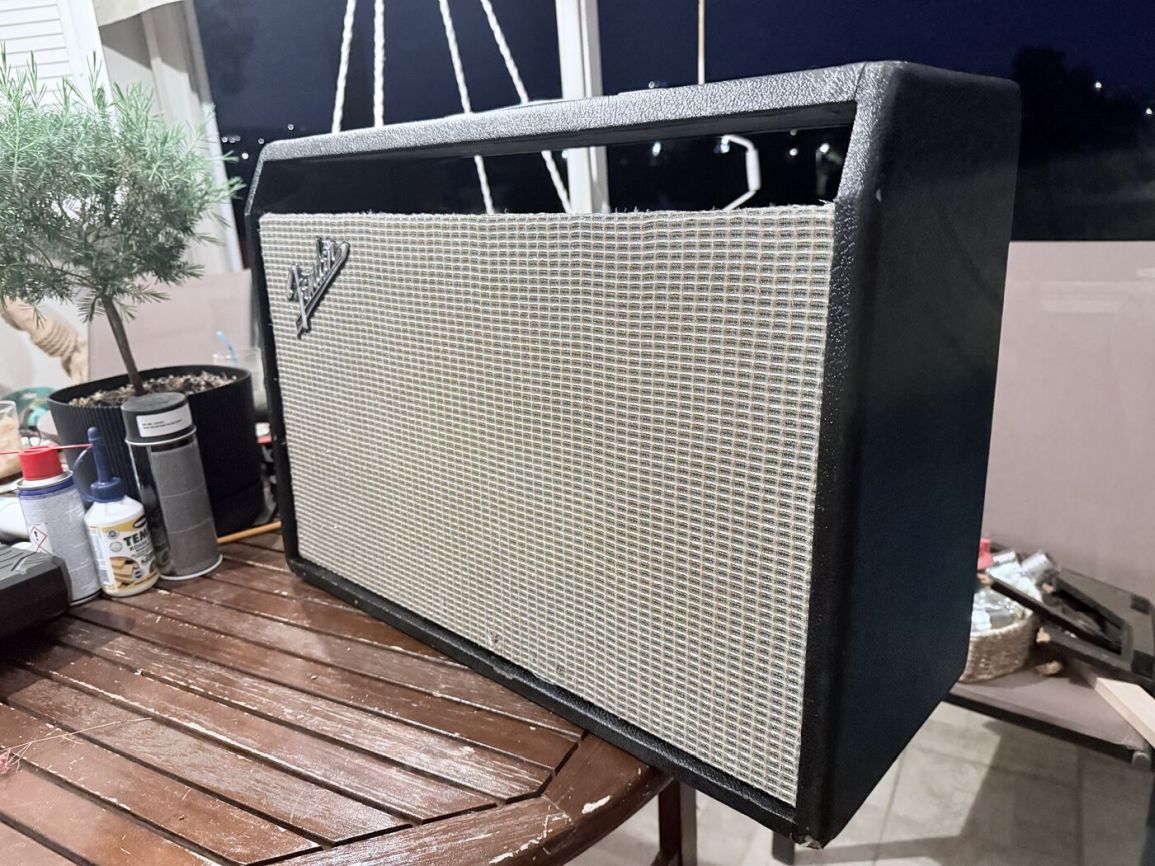
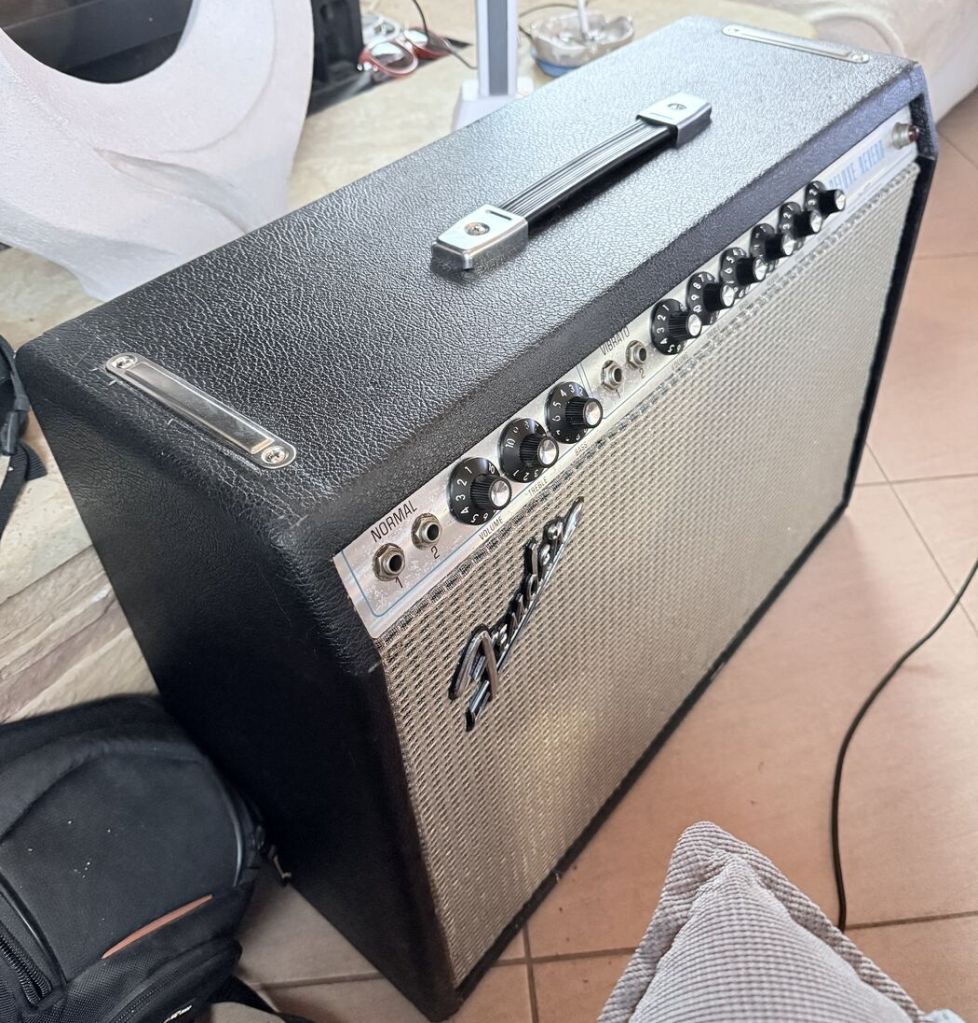
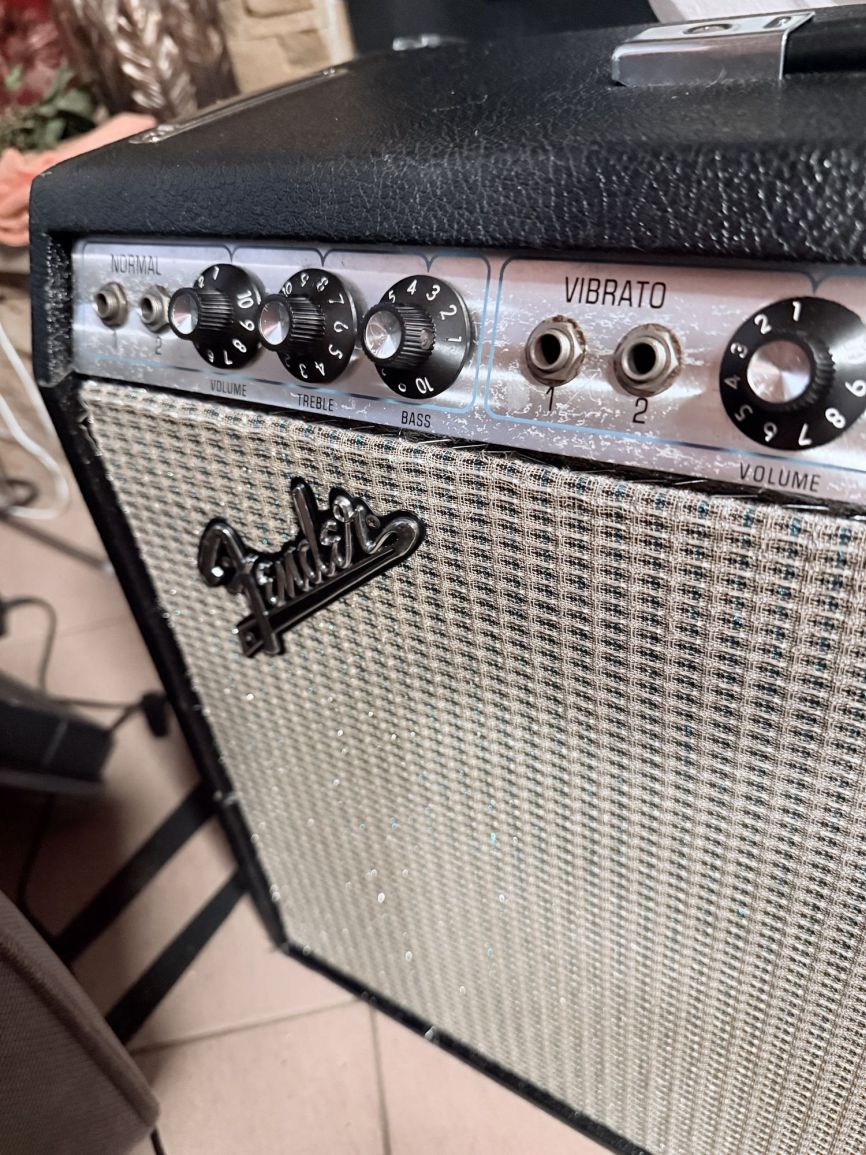
With the order for the required parts placed, there was plenty of time to look after the cabinet while waiting for their arrival. The original grille cloth was worth saving. Rather than sourcing repro material, the cloth was carefully cleaned and the Fender logo badge removed for reuse. The broken wooden frame underneath was measured precisely with calipers to get exact original dimensions, then rebuilt from scratch. The original cloth was stretched and stapled onto the new frame, and the whole assembly went back into the cleaned cabinet with the original badge reinstalled.
Phase 3: Rebuilding the Doghouse
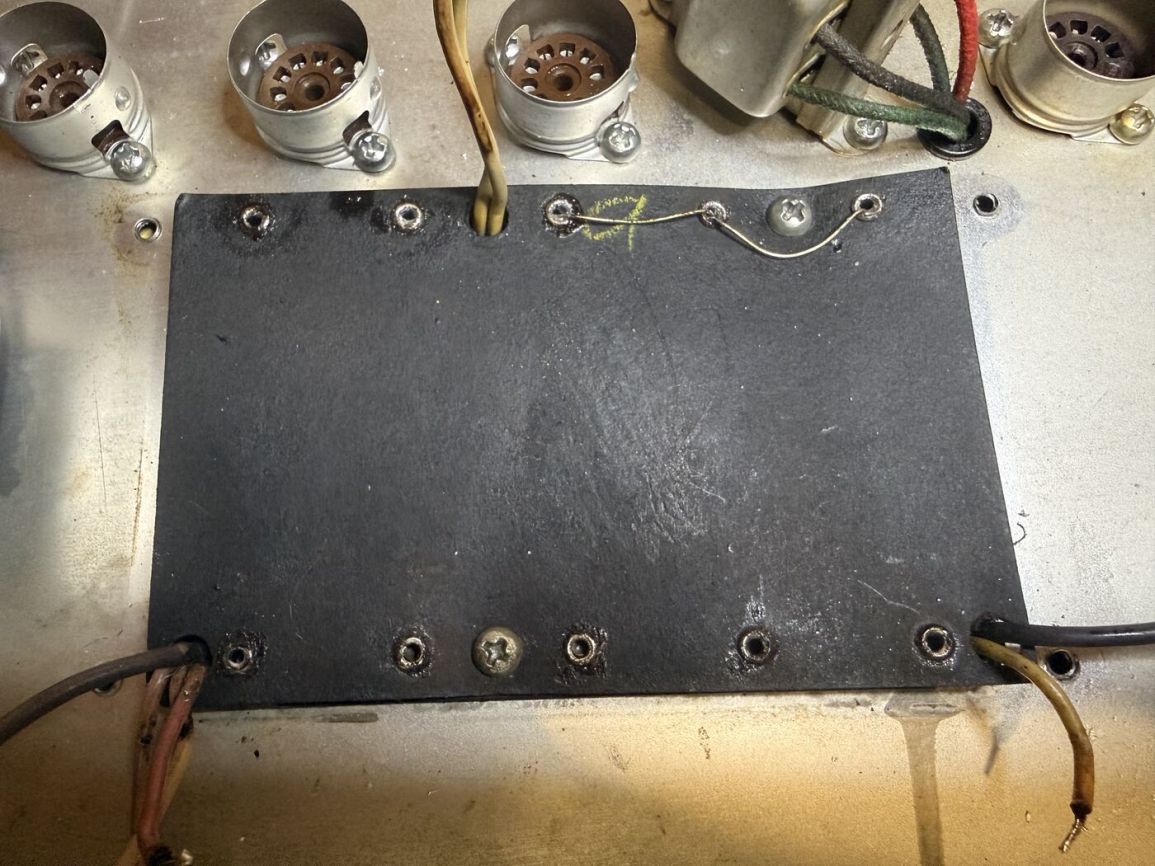
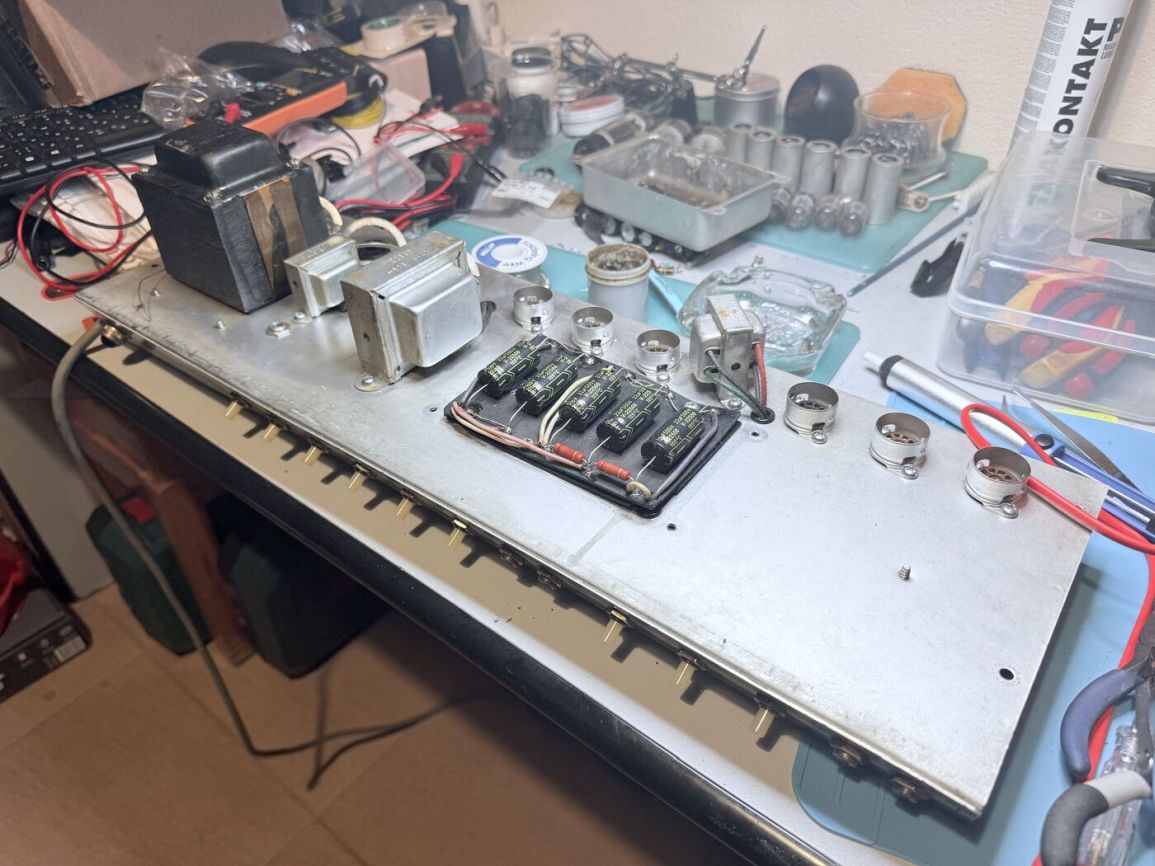
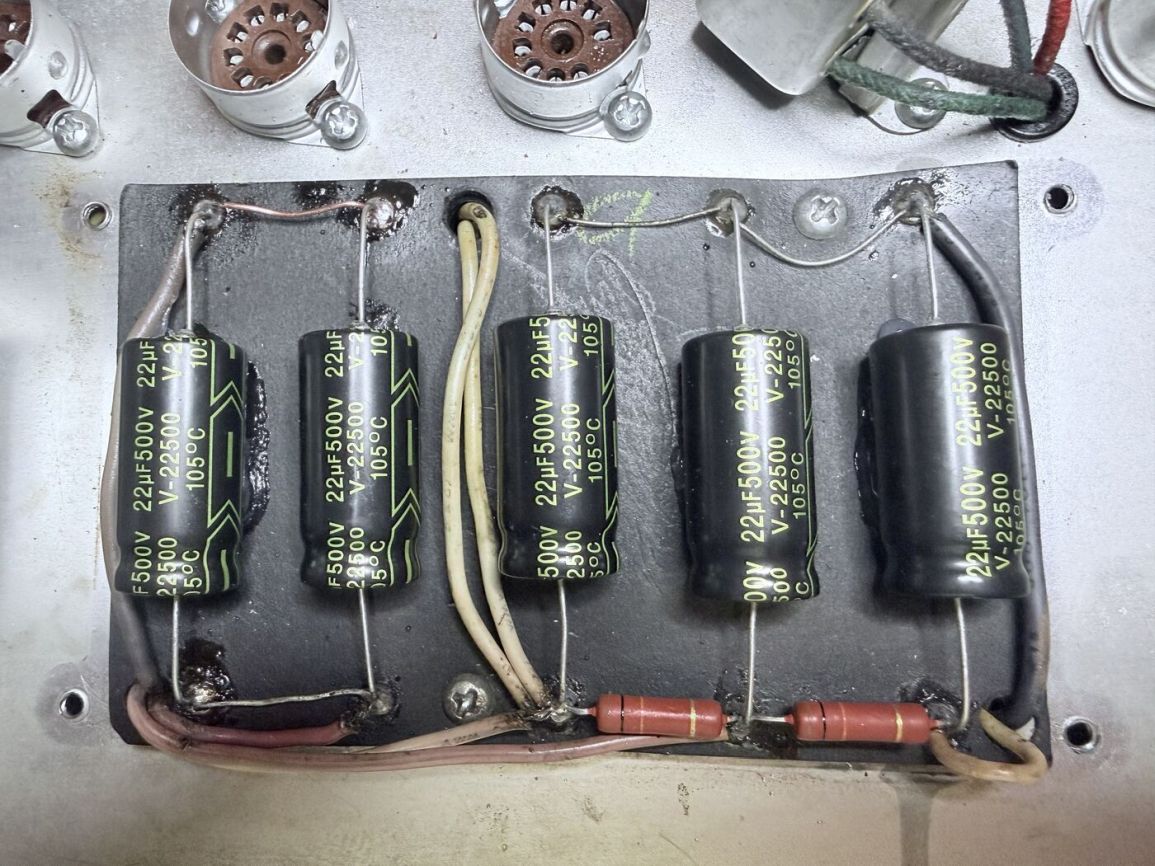
The doghouse filter caps were the worst offender inside the chassis. Opening the hinged cover revealed exactly the rushed, ugly rewire and poor-quality caps that had accompanied the 6L6 conversion. The old, abused board came out entirely, was cleaned, and went back in with five fresh TAD 22μF/500V electrolytics, properly dressed leads, and correctly valued Vishay bleeder resistors to AB763 specs.
Phase 4: Full Recap, Correct Tubes, and a Reversible NFB Mod
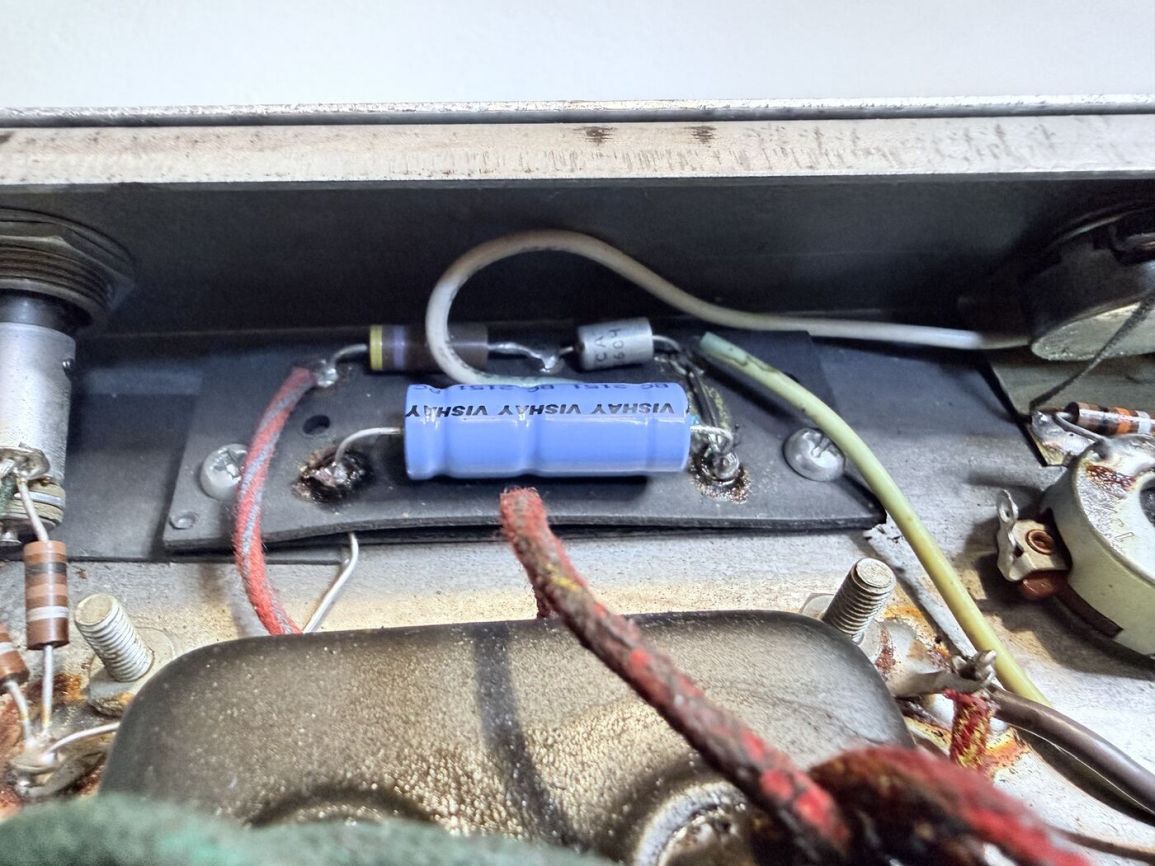
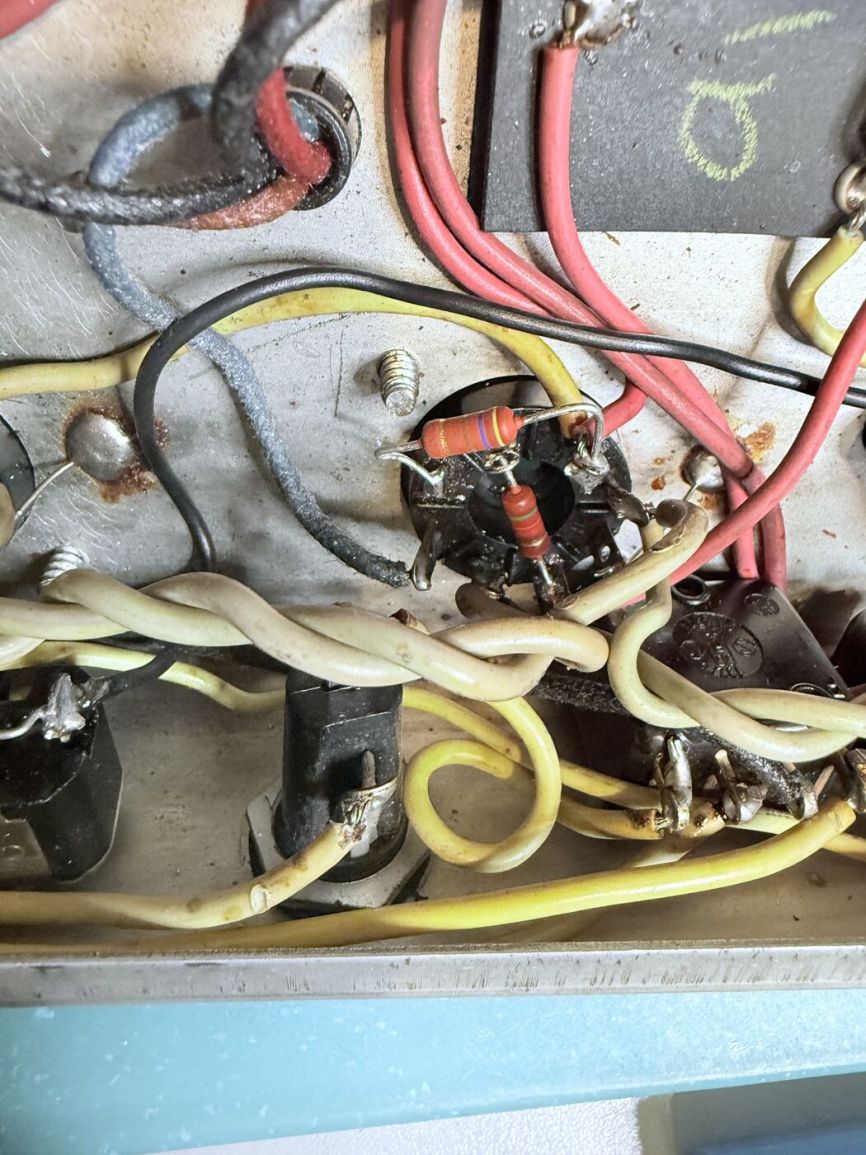
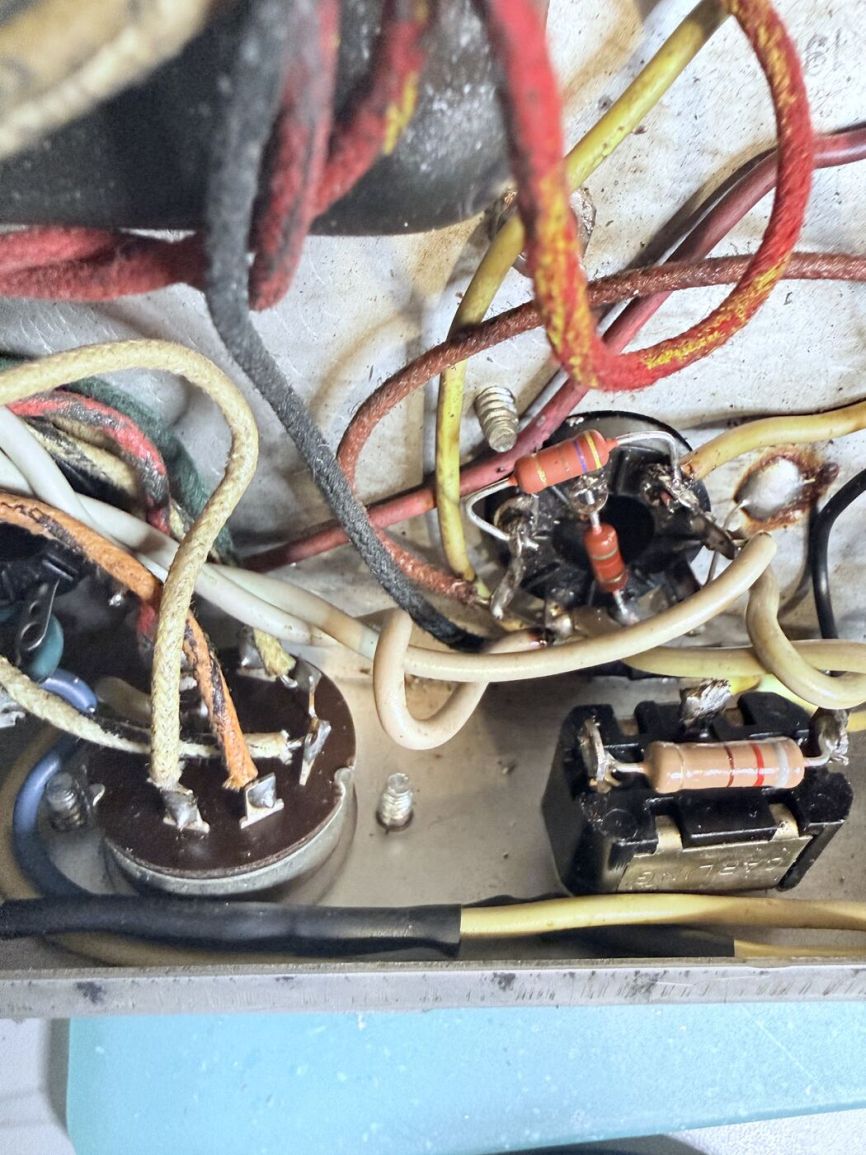
With the doghouse sorted, the rest of the amp got the same treatment. Every electrolytic was replaced, with fresh TAD and Vishay caps on the smaller filter stages. The drifted and out-of-spec resistors were identified and swapped to correct values. The 6L6s came out for good, replaced with a matched pair of JJ 6V6S—the tube this circuit was designed around. As a genuinely useful, fully reversible addition, the ground switch was modded into a three-position negative feedback selector, giving a tonal flexibility: Silver (standard), Blonde (half), and Tweed (noNFB), without touching anything structural.
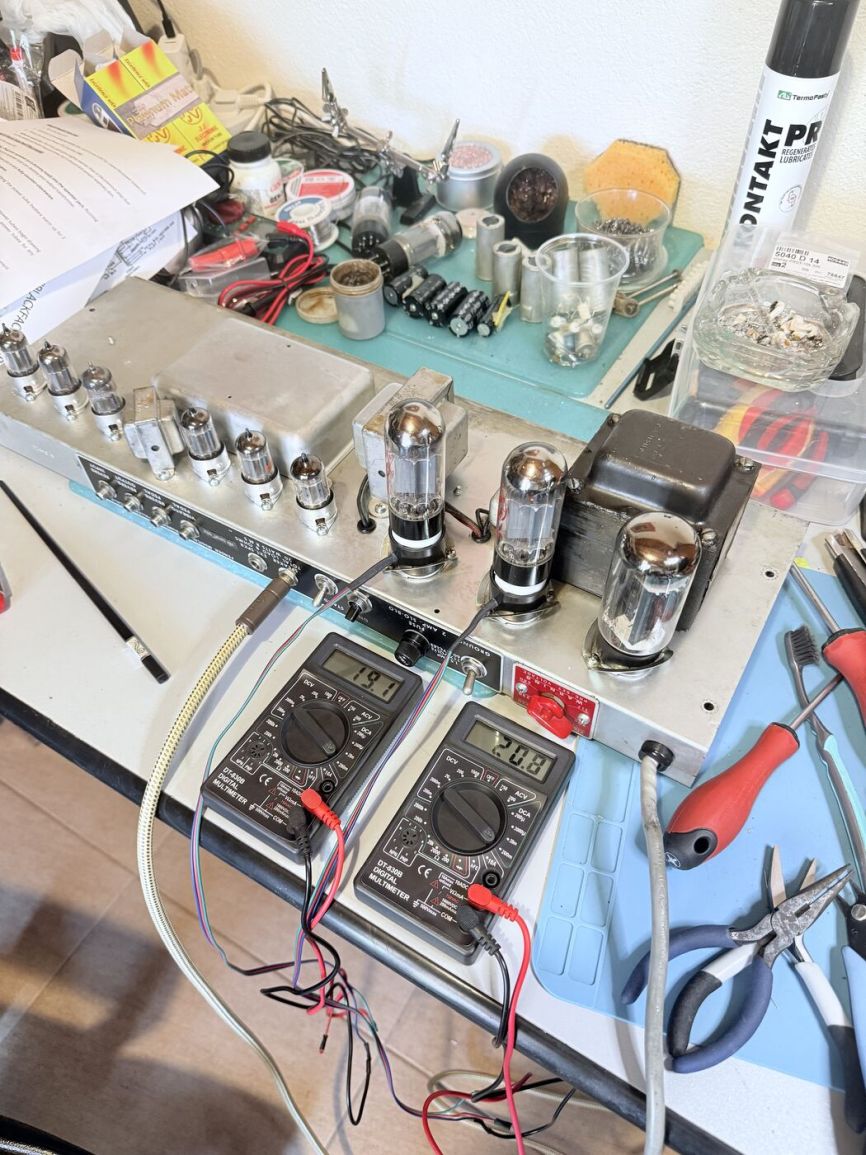
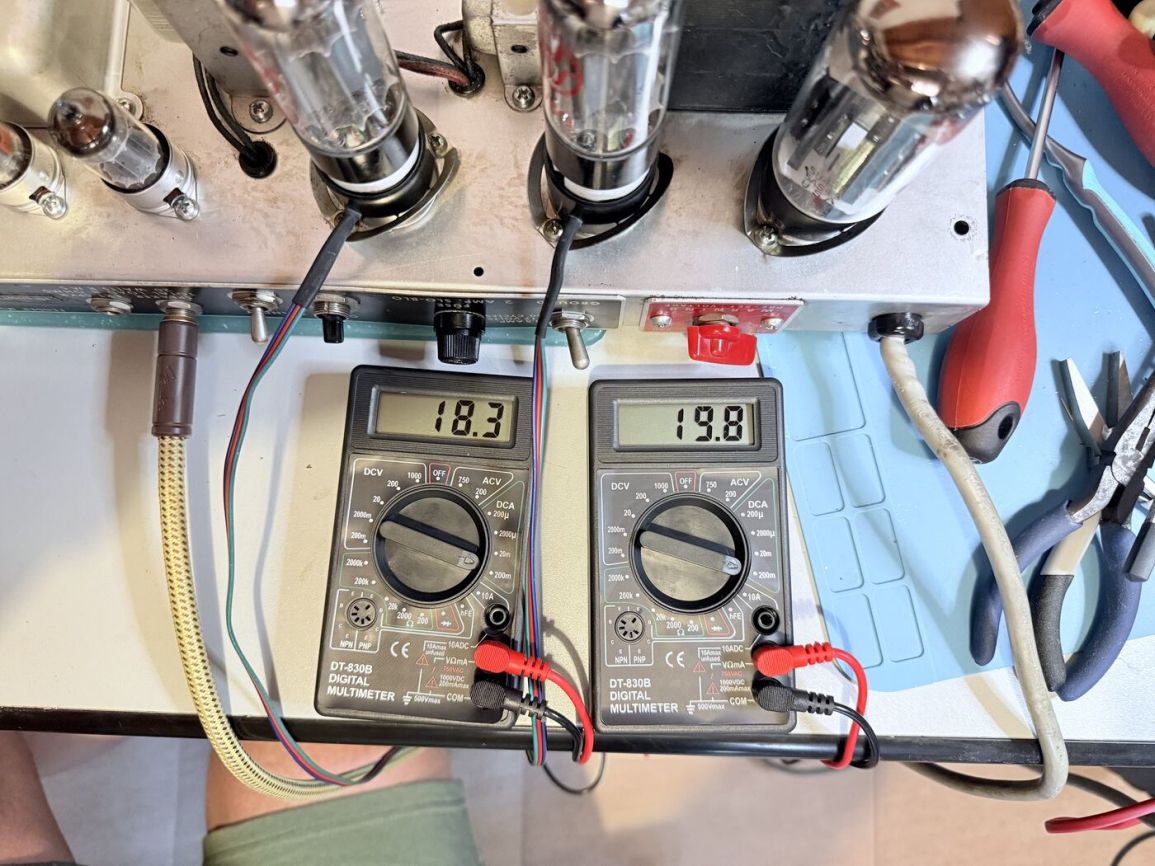
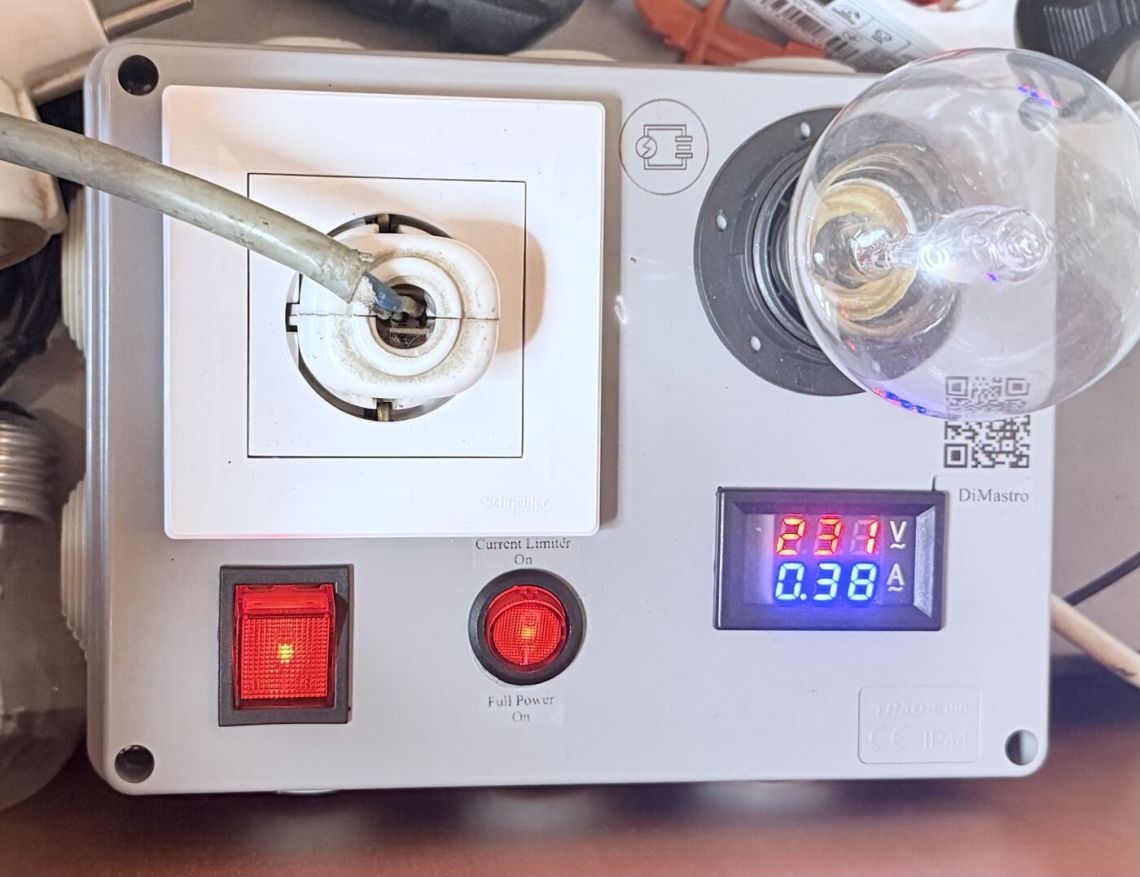
Startup went through the DiMastro Current Limiter—dim-bulb—bringing the amp up safely after the recap rather than flipping it straight to full mains. Bias was calculated with the DiMastro Bias Calculator to 65% dissipation and set across both output tubes with a pair of DiMastro Bias Probes before buttoning the chassis back up.
Final Reassembly
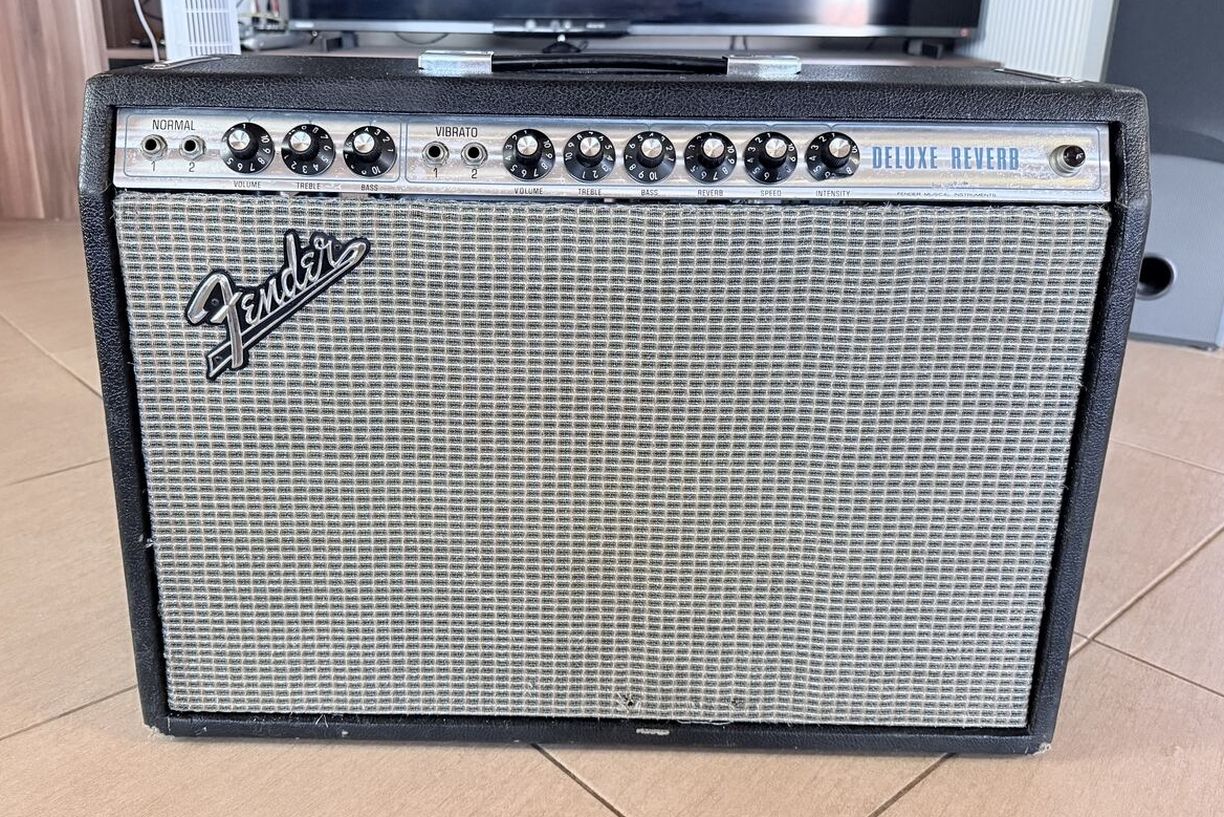
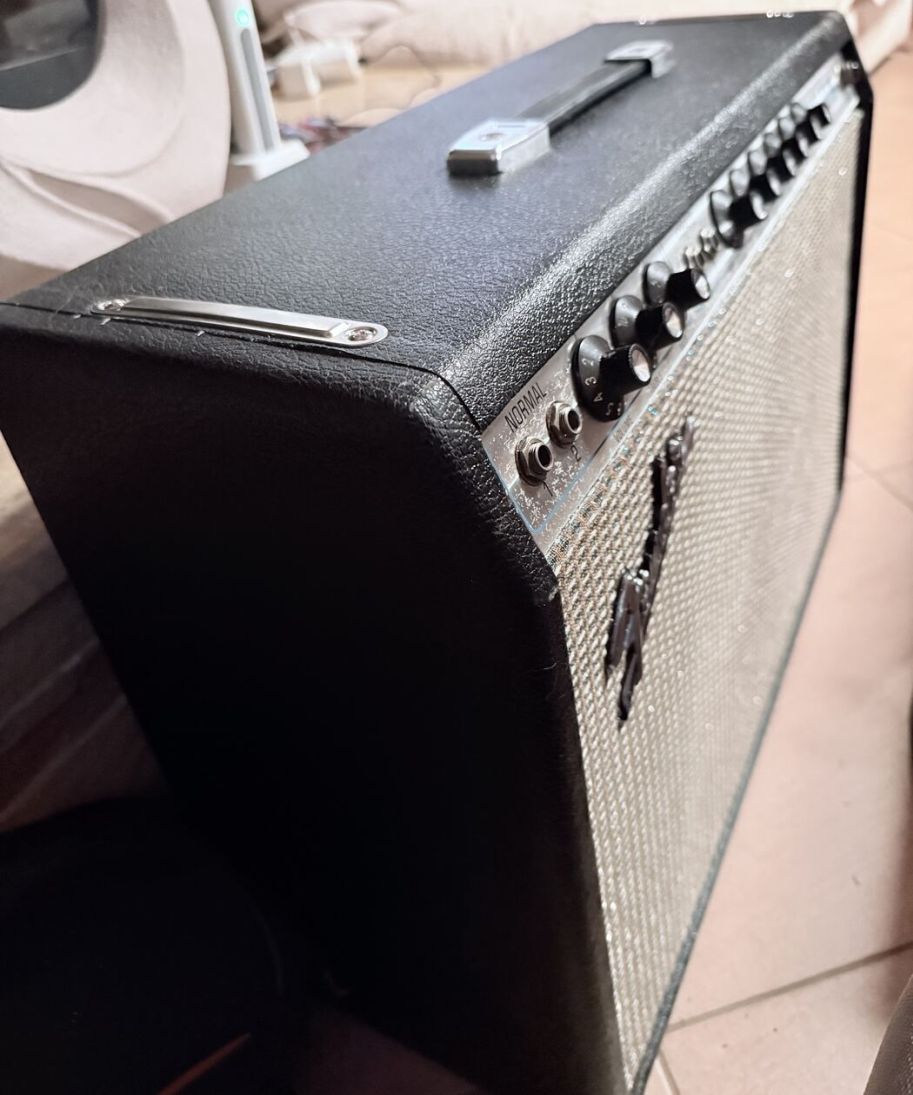
Last step was hardware: all chassis mounting bolts and chrome fittings replaced, along with the top handle chrome—paired with the original handle rather than a repro. Back in the cabinet, with the new frame and cleaned original grille cloth, reinstalled badge, and every jack and pot working the way it should. Dead silent, and ready to rock.
What Actually Fixed It
- Correct power tubes: matched JJ 6V6S replacing the mismatched 6L6s the circuit was never designed for.
- Doghouse rebuilt to spec: five fresh TAD 22µF/500V electrolytics on a cleaned board, properly dressed and correctly bled with two fresh Vishay resistors, back to original AB763 specs.
- Full electrolytic recap throughout the eyelet board, with fresh TAD and Vishay caps.
- Drifted and out-of-spec resistors corrected back to original AB763 specs.
- Original grille cloth preserved, cleaned, and remounted on a newly built frame rather than replaced.
- A genuinely useful tonal, reversible mod: a three-position NFB selector (Silver-standard / Blonde-half / Tweed-noNFB) added via the existing unused ground switch.
- Careful startup and bias: current-limiter startup, bias set and verified across both output tubes.